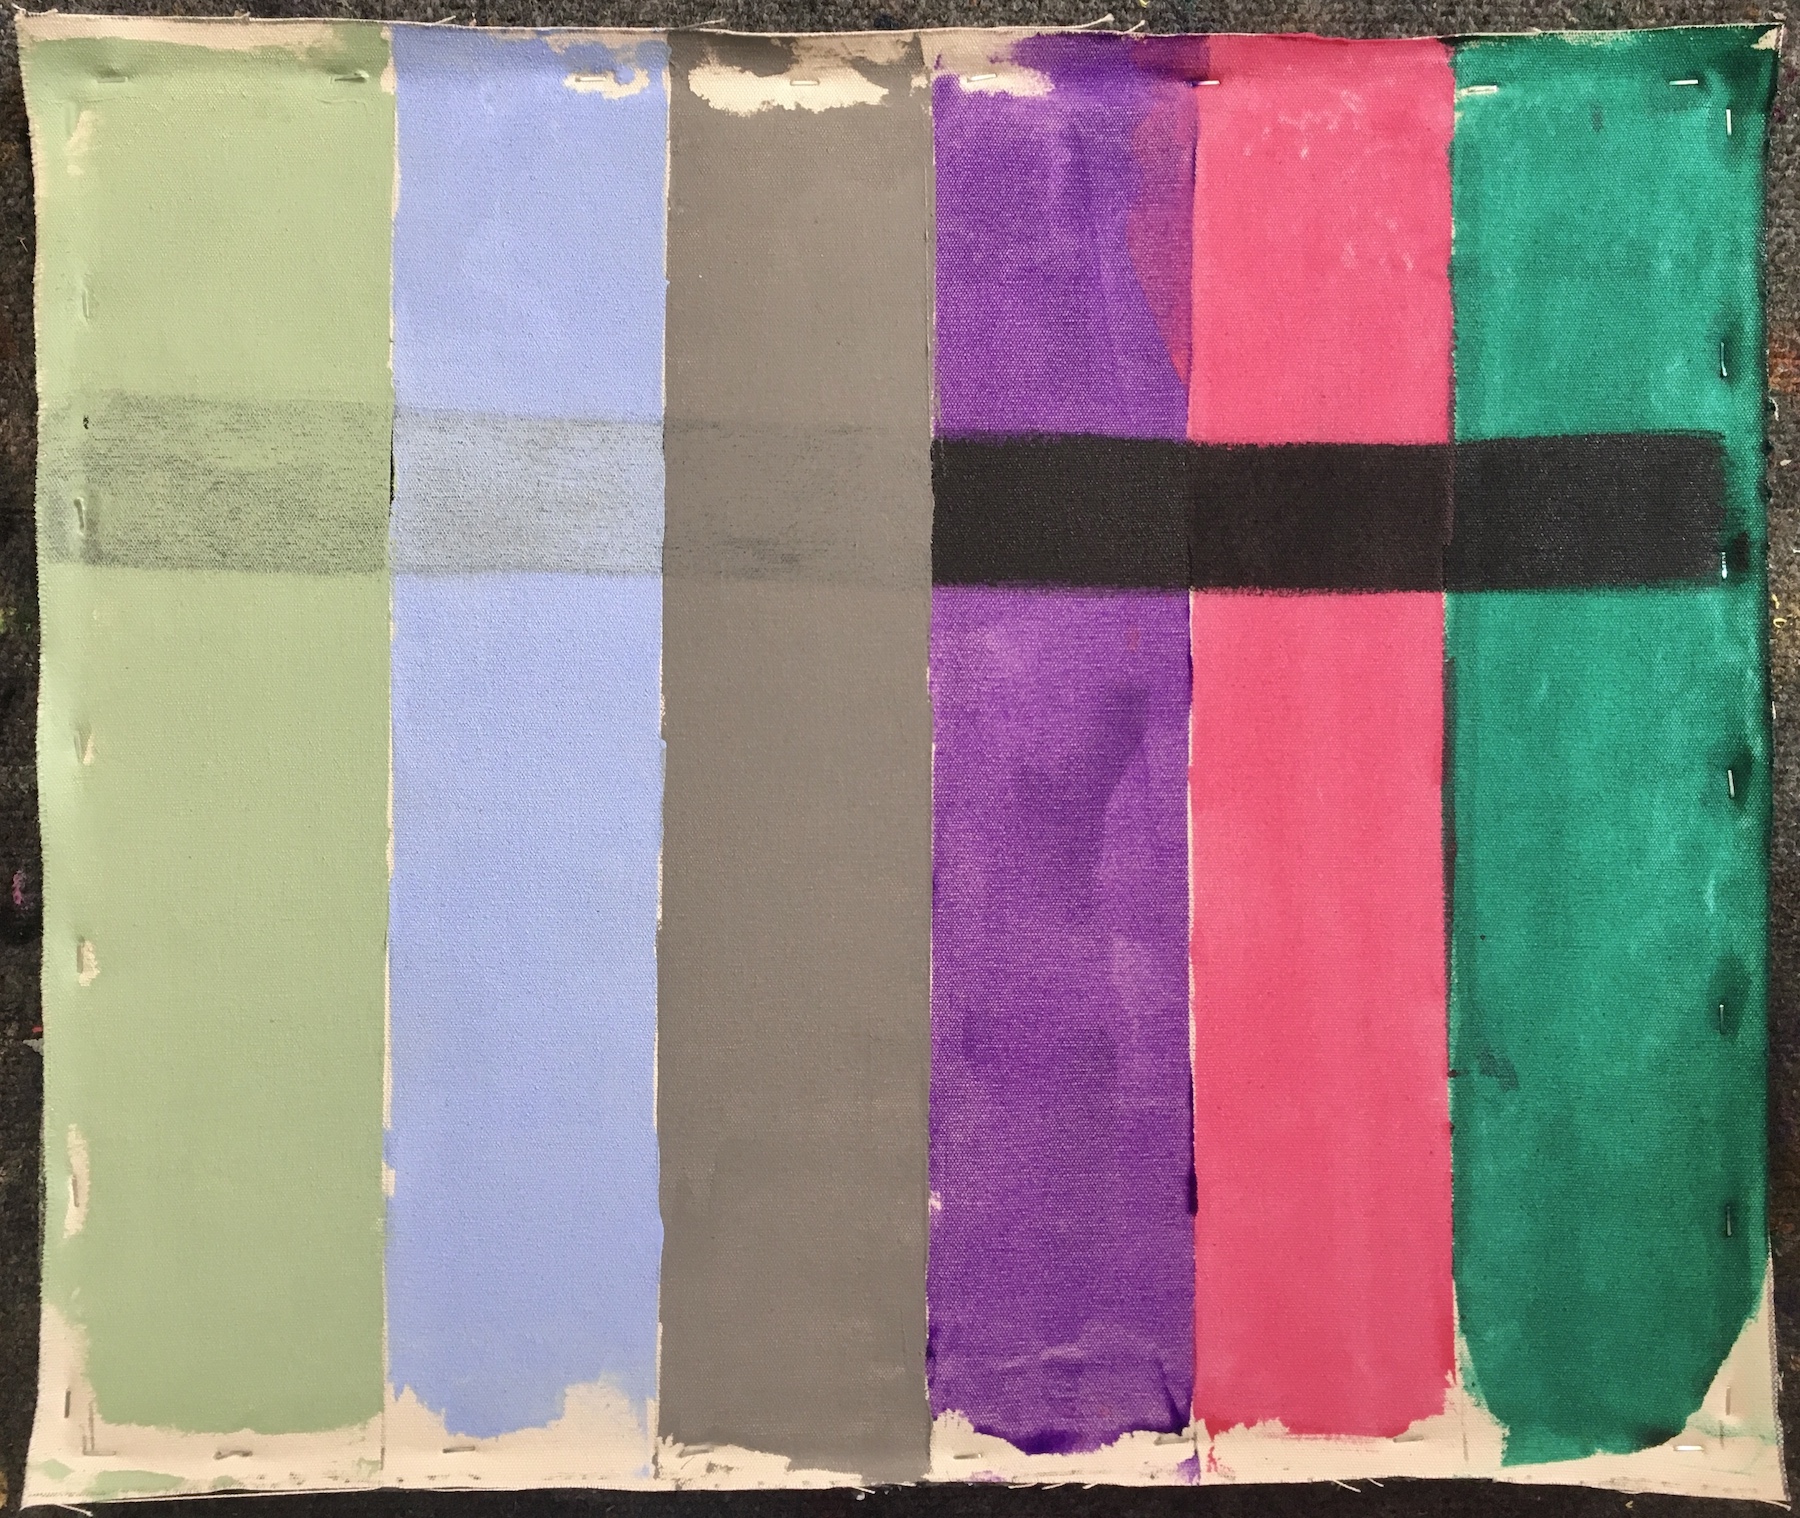
Blade Applied Translucent Acrylic Grounds
Editor’s Note:
Added April 26, 2022
For some time, our recommendation for artists using oils over acrylic has been to work over harder, matte acrylic surfaces and avoid working on softer gels and gloss products. Our intention was to optimize the level of adhesion that would be achieved on a toothier surface as well as avoid the potential for future cracking as the oil paints become more brittle. While we have not seen adhesion problems of oils on any type of acrylic, recent testing has shown the potential for cracking in certain instances and conditions when applying artist oils over all of the many brands of glossy acrylics we have tested. While we have not received notice from artists of this phenomenon, we are able to repeat this specific type of cracking in our Lab.
Please visit https://justpaint.org/revising-our-recommendations-for-using-oils-over-acrylics/ for an overview of our testing, results and updated recommendations for applying oil colors over acrylics.
There are many options for acrylic painting grounds. While Gesso is the most commonly used ground, almost any GOLDEN acrylic paint, medium, gel or paste can be used alone or in just about any combination to create a large range of unique surfaces for painting. Brush application can be time consuming as Gesso or other grounds need to be forced into the canvas weave to cover properly. A scrape and spread application using a metal blade tool makes this job much easier.
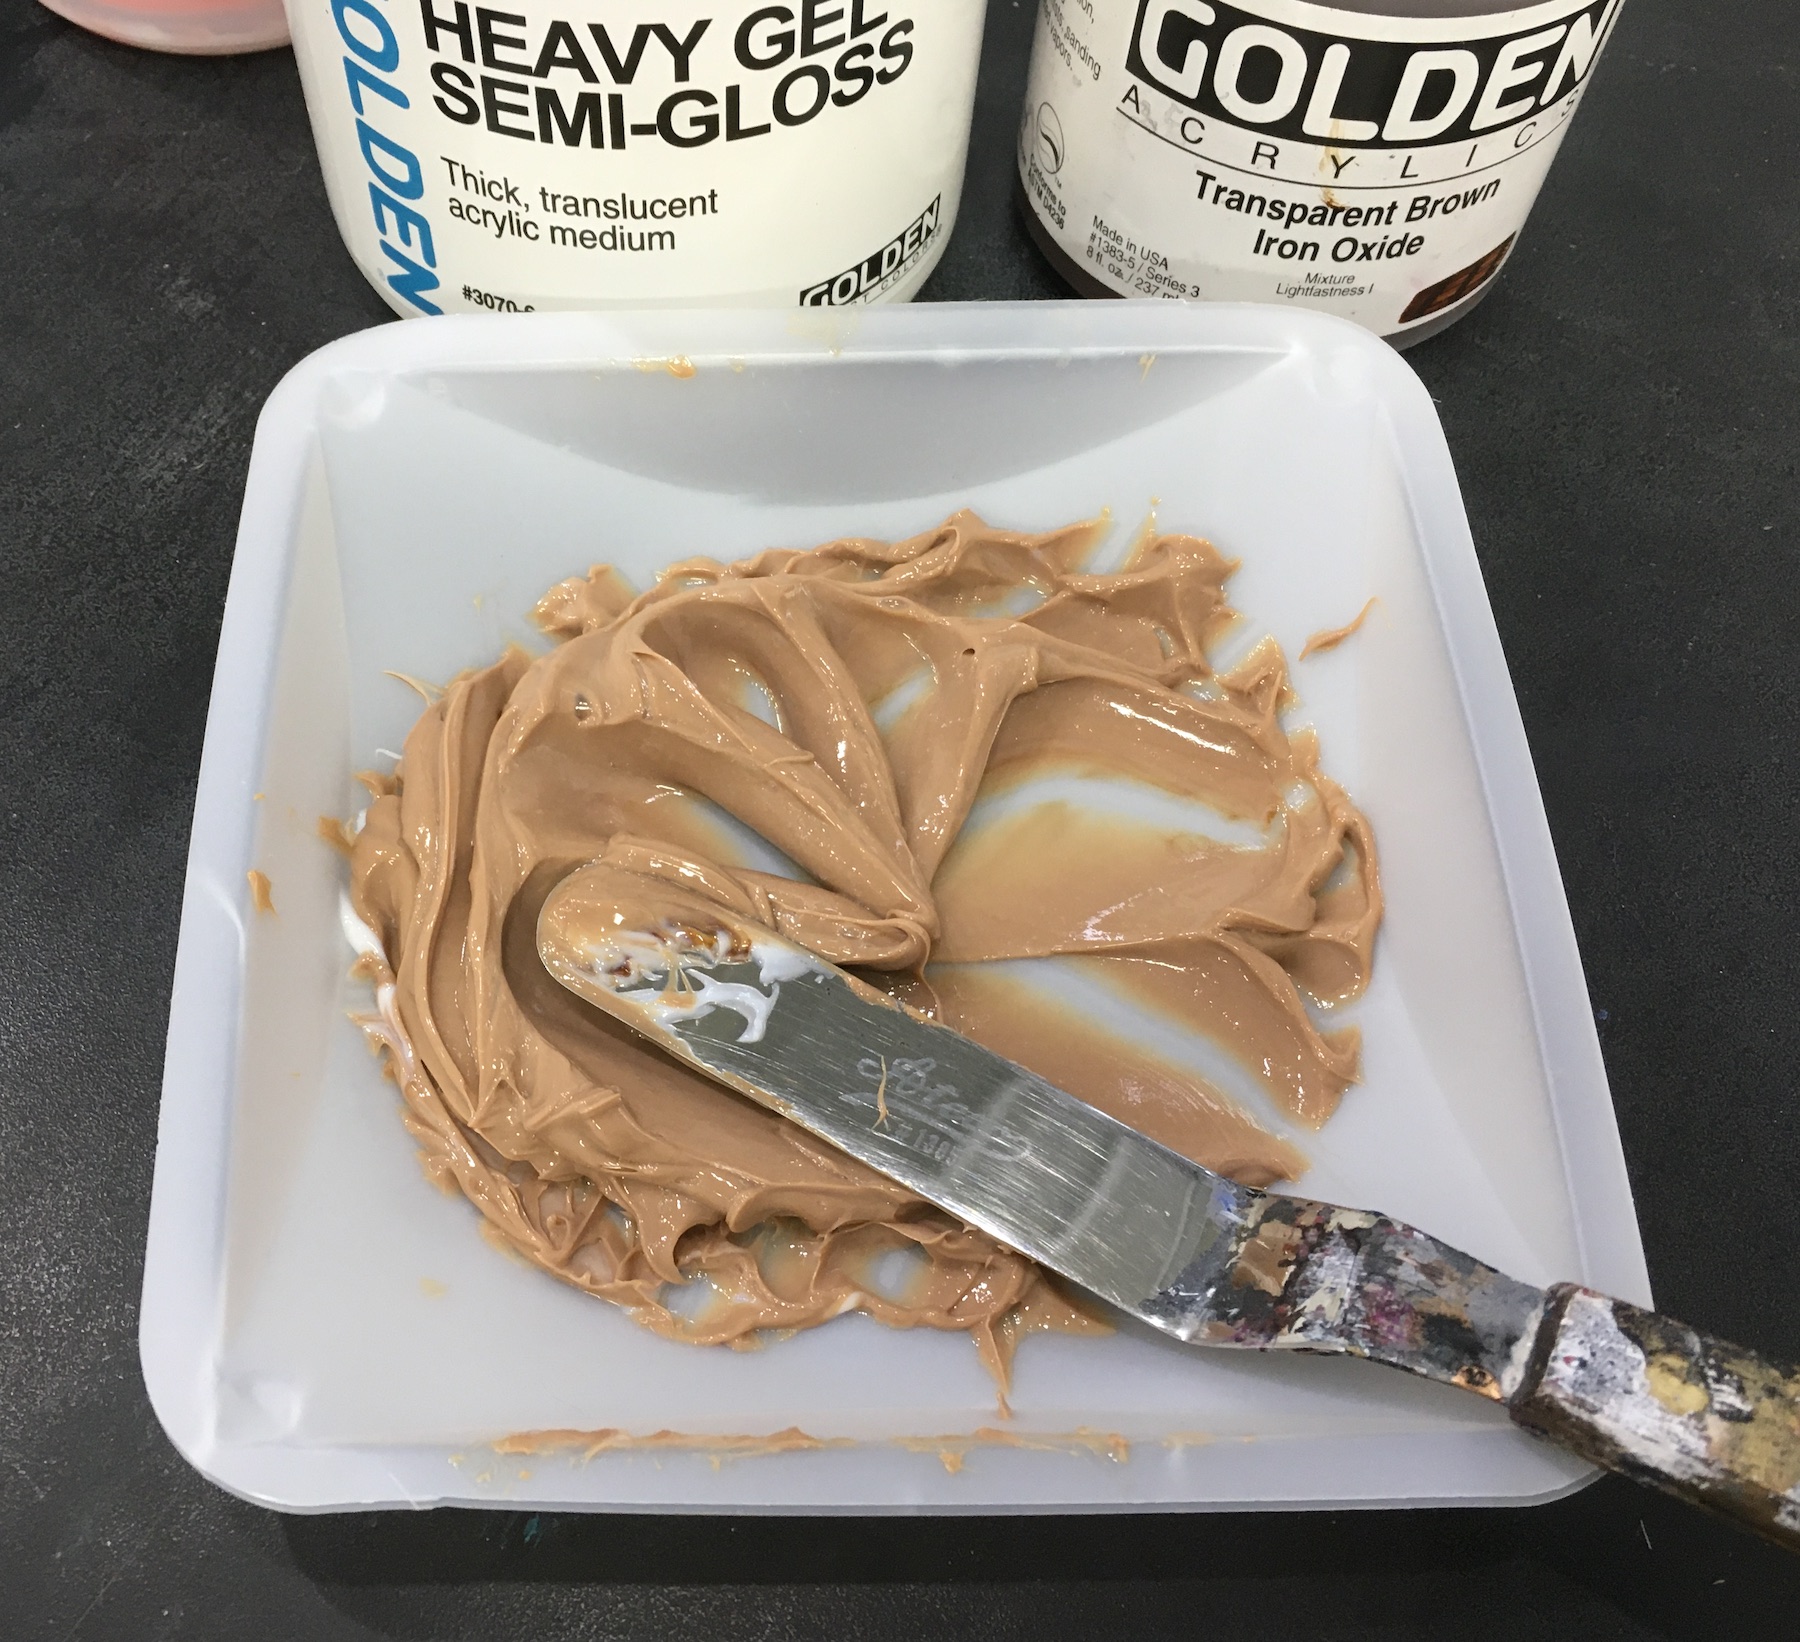
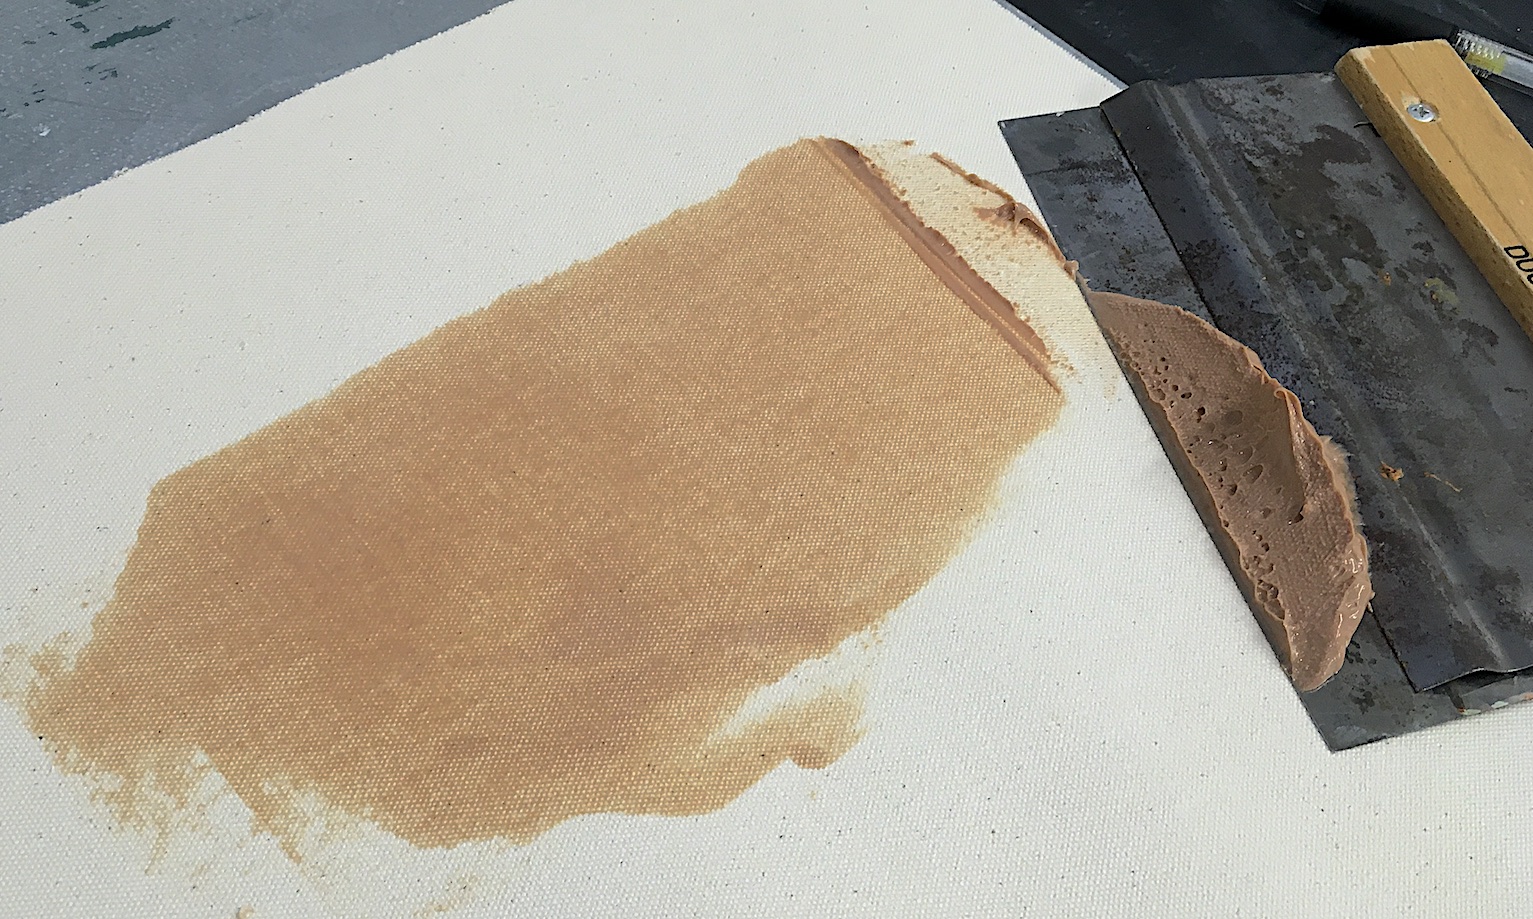
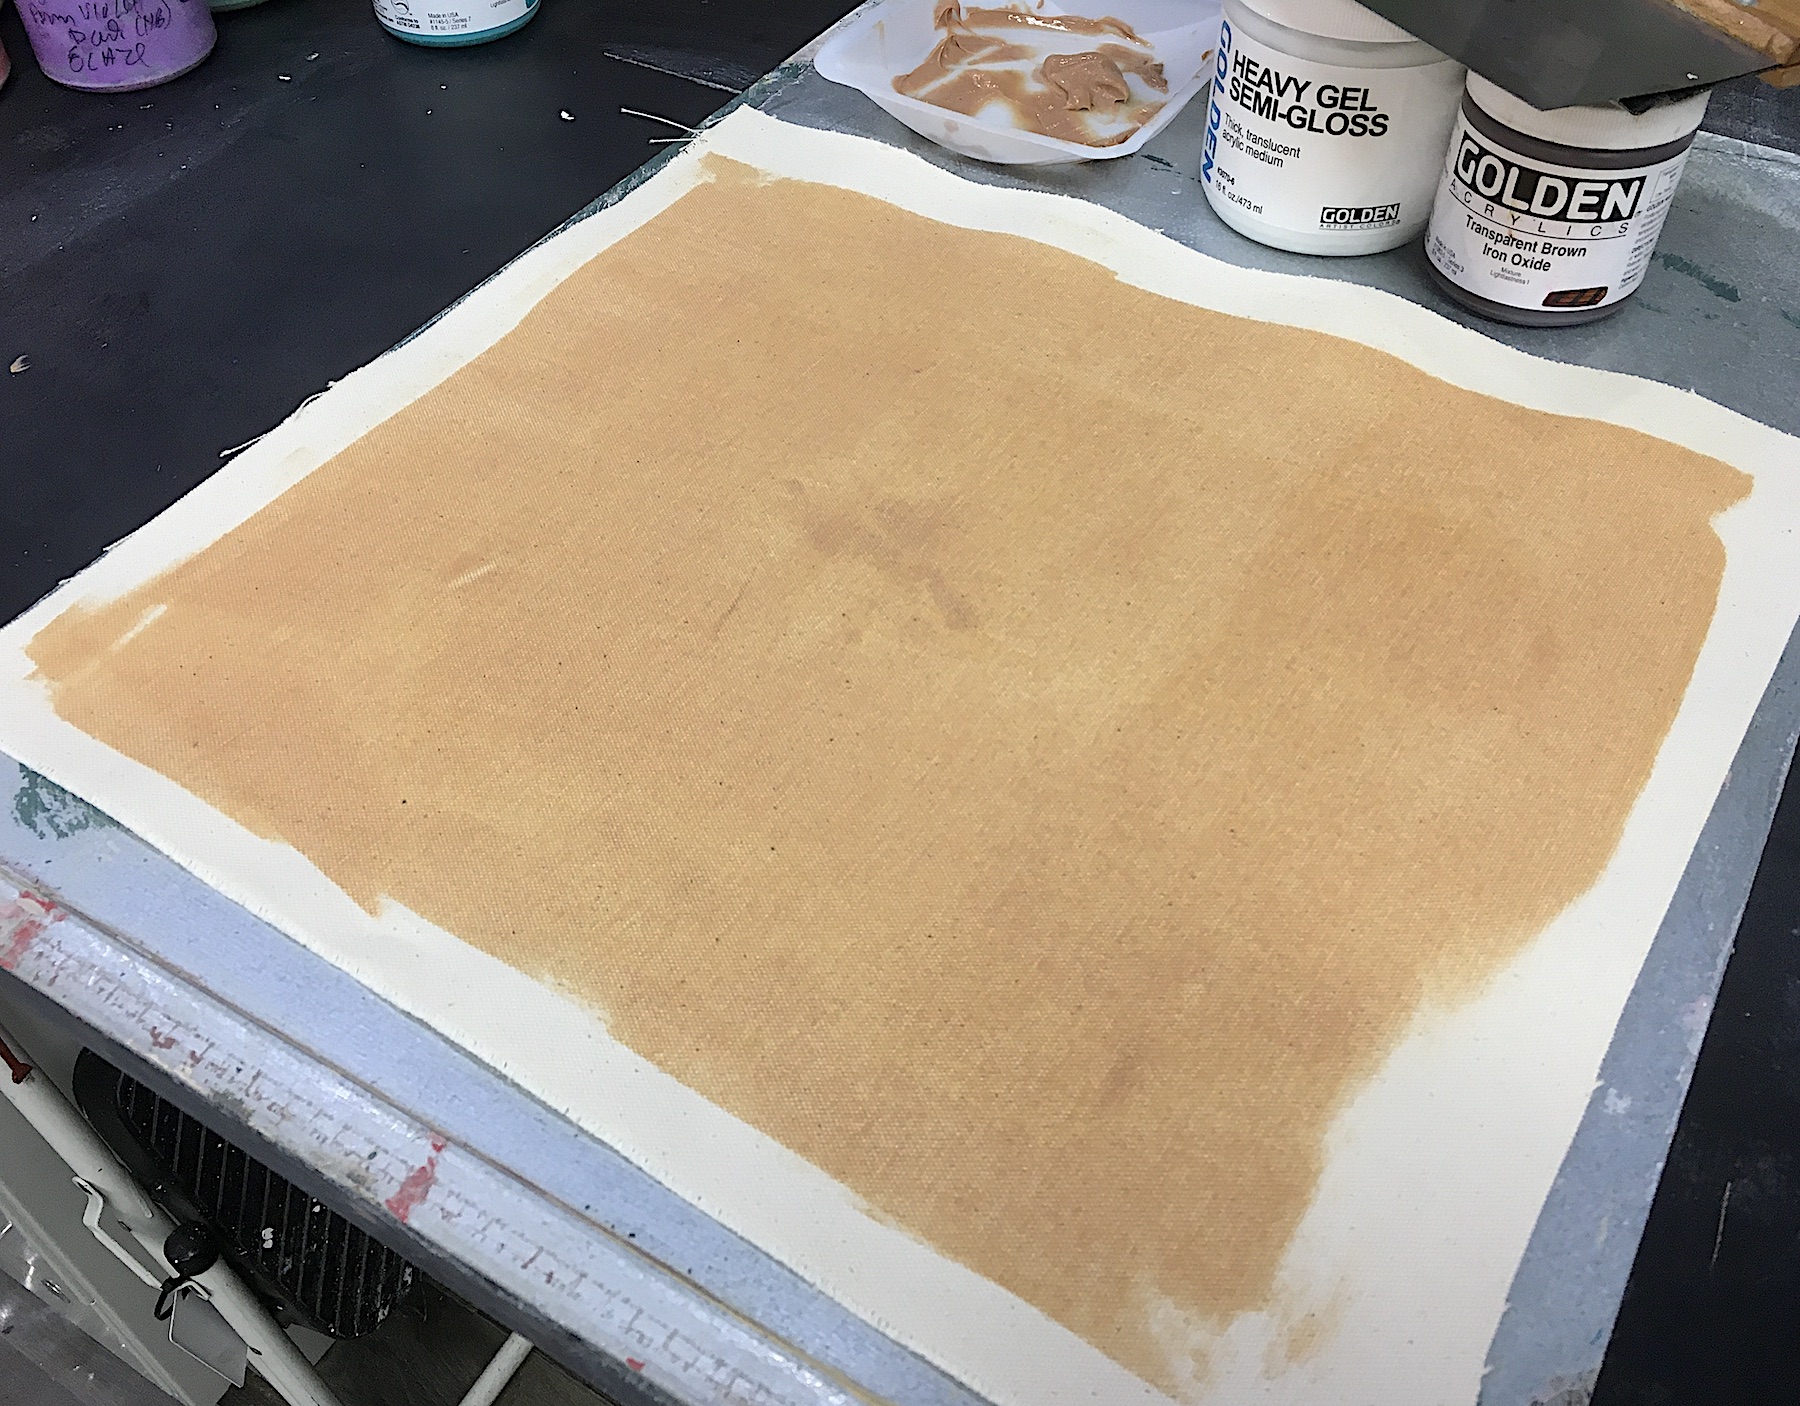
The Basic Idea:
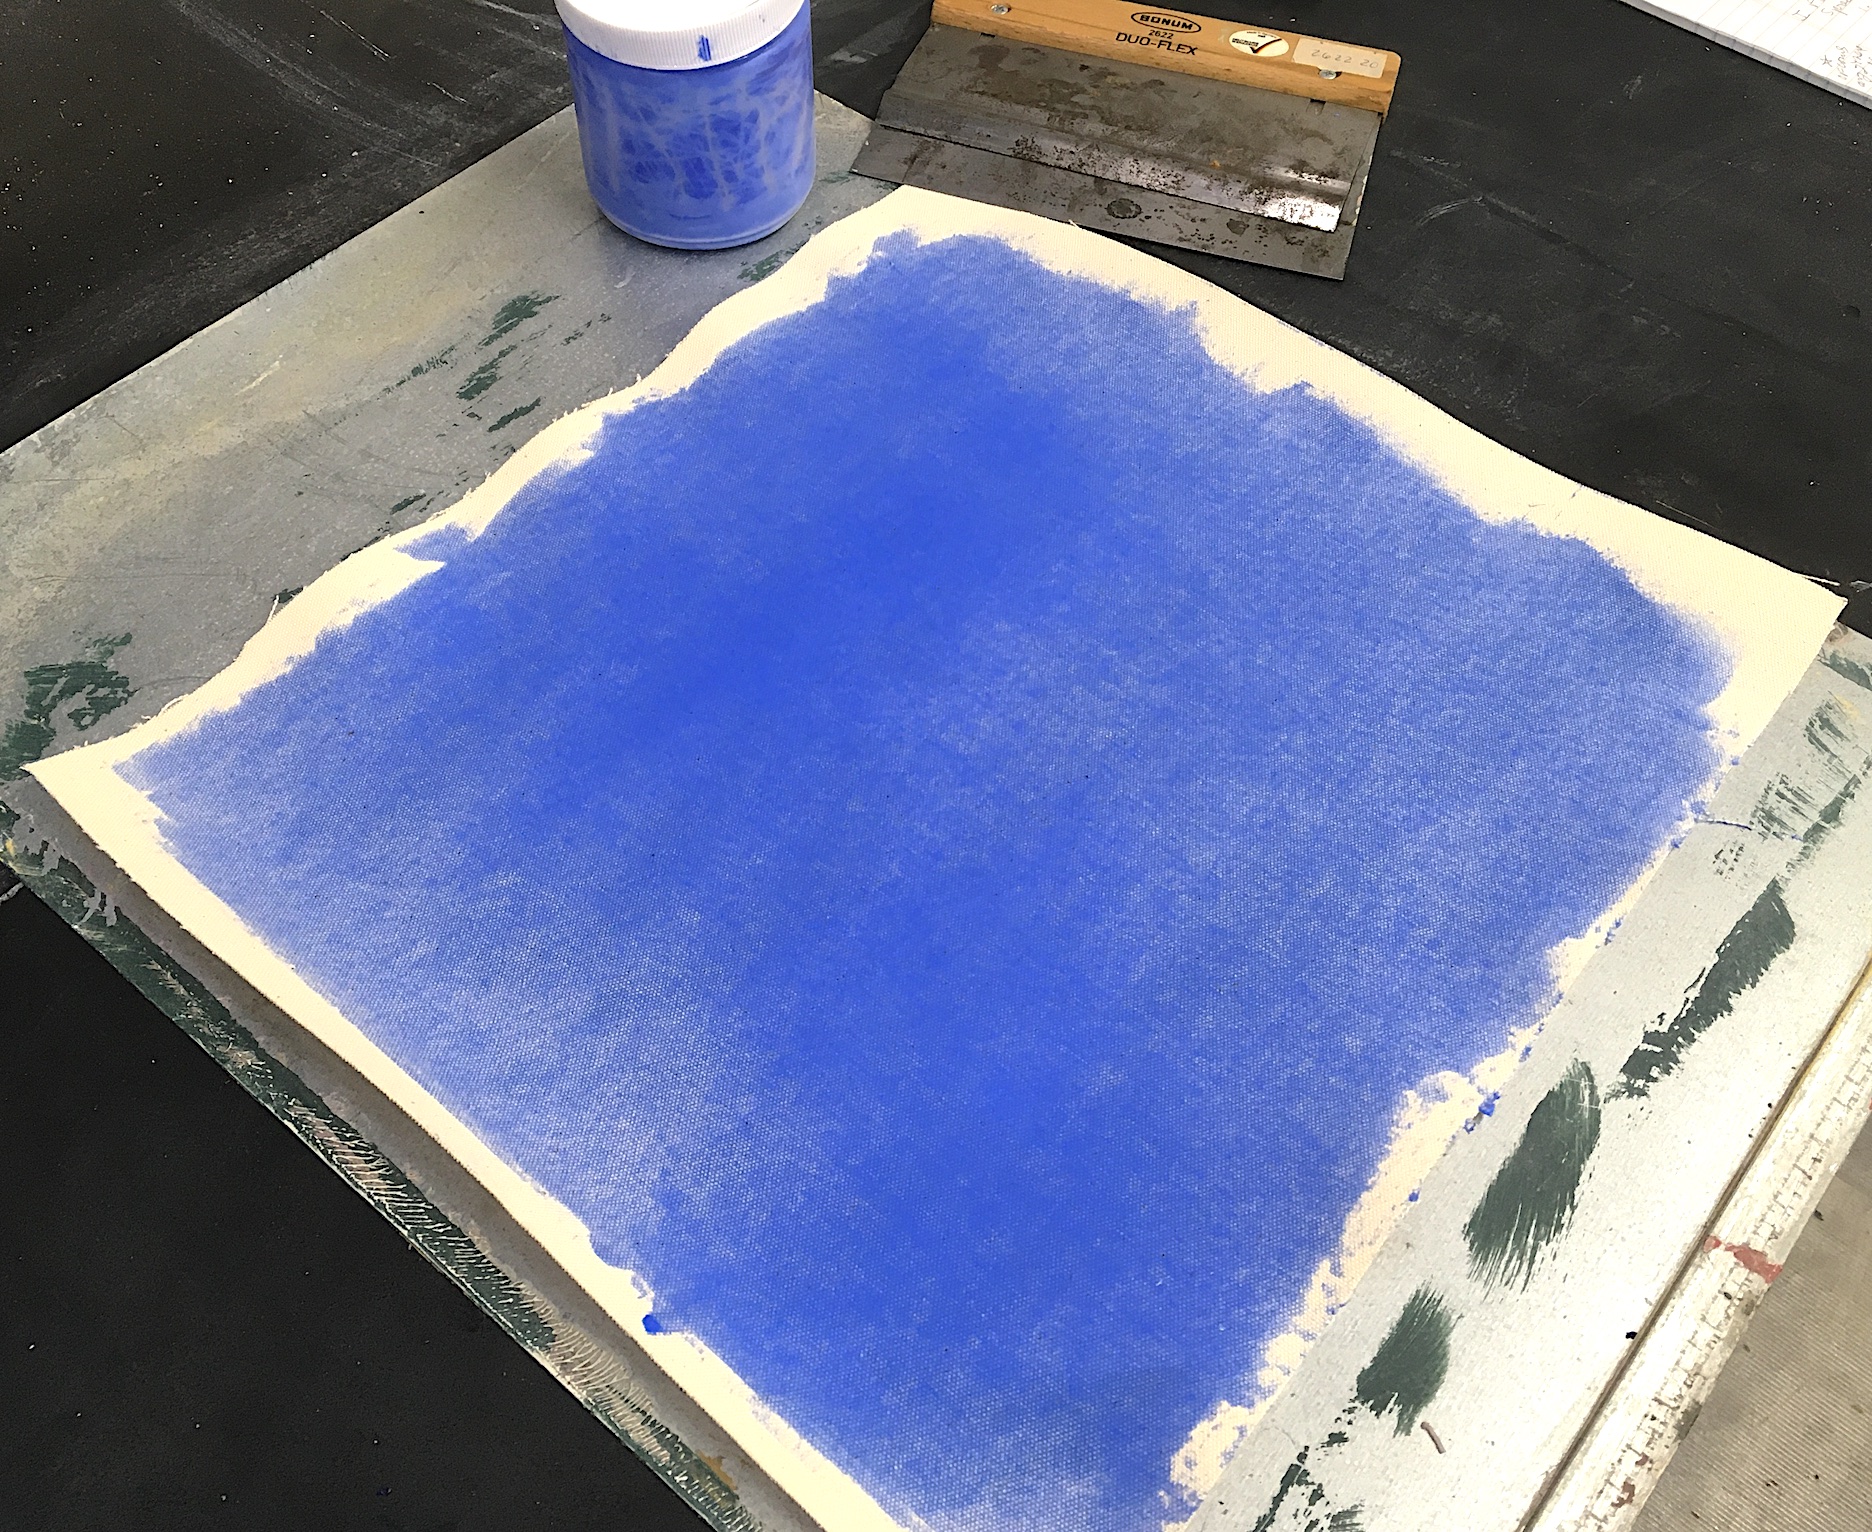
This article focuses on the idea of mixtures of acrylic paint and medium, thinly scraped onto raw cotton duck canvas, as a fast way to get an even field of color and a thin acrylic layer. Metal blade tools work best for this, such as the ones pictured above. Drywall Tape knives work very well and are easily found at hardware stores. Putty knives are also good, along with large palette knives. In a pinch, a piece of 1″ x 2″ wood could work, but the clean hard edge of a metal blade is best. Use larger tools for larger sized canvases. Drywall knives are most often about 10 inches wide and this makes application faster and easier for larger canvases. While we are focusing on acrylic painting here, we have seen that two or three scraped on layers of either a gloss or semi-gloss medium will block oil from getting into the canvas, so oil painters out there could also use this method. For a relatively ‘clear gesso’ we recommend using our Fluid Matte Medium. Most people prefer a matte surface under oils for the tooth and absorbency. Although some artists continue to question the adhesion of oils on a glossy acrylic surface, our testing continues to show good adhesion.
Some tools that can work for this method:
Wide Drywall Tape Knife, Putty Knife, Palette Knife, Straight Edge Wallcovering Tool, Squeegee
The Method:
The technique mirrors and expands on the method we show in our Creating a Smooth Surface using Molding Paste video here: https://www.youtube.com/watch?v=NP3br4sx7Uo.
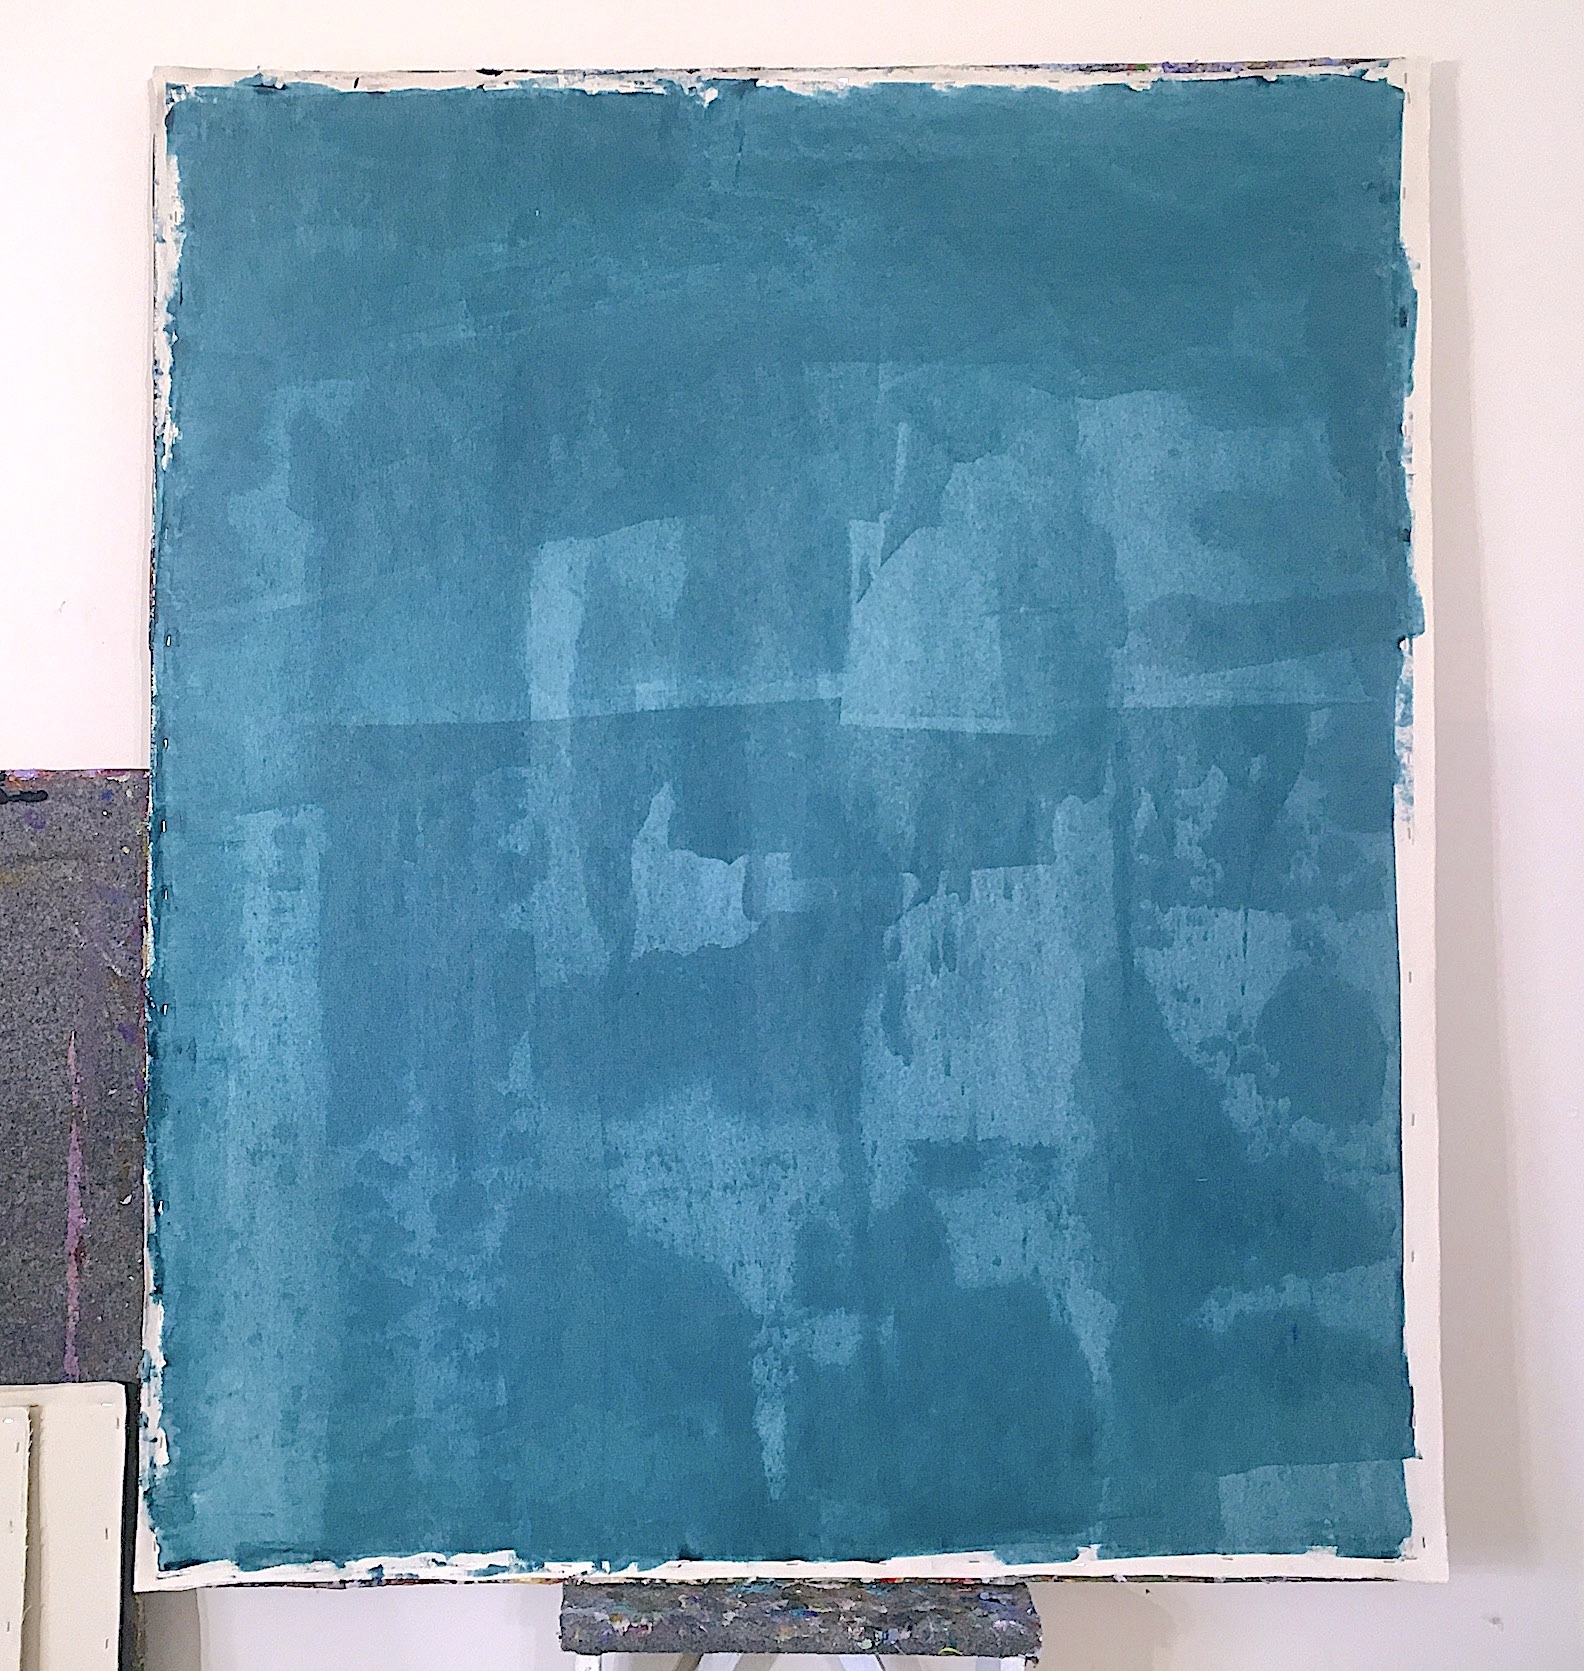
The main difference is that we are using translucent glaze-like mixtures of Medium or Gel Medium and acrylic paint in place of Molding Paste, to create a translucent mixture that is forced into the weave of the canvas and allows the undertone of the color to show itself. And, the main goal here is not to create a perfectly smooth surface, but to get a solid color field down as quickly as possible. The canvas texture will still be seen and felt when painting. But, with multiple layers, you can get a very nice smooth surface as well. Glaze mixtures like this with a lot of fluid Mediums or thicker Gel Medium are much more forgiving in the way they can create more uniform color fields when applied in this manner. To get the most even color field you will need to make just one single pass with the blade tool as a second pass will immediately create a darker and more color dense area. These variations, of course, can be used for their own aesthetic effect, if desired. It is possible to apply this method of scraping to small pieces of canvas, as it will reduce the amount of warping compared to brush application, but with the shrinkage of the acrylic paint as it dries you will still see some curling of the canvas. It is possible to even out the warping with stretching or gluing.
Here are two articles that have related and pertinent information:
Acrylic Washes and Glazes: What, When and How?: http://justpaint.org/washes-and-glazes-what-when-and-how/
Glazing with Acrylics, Oils and Watercolors: http://justpaint.org/glazing-with-acrylics-oils-and-watercolors/
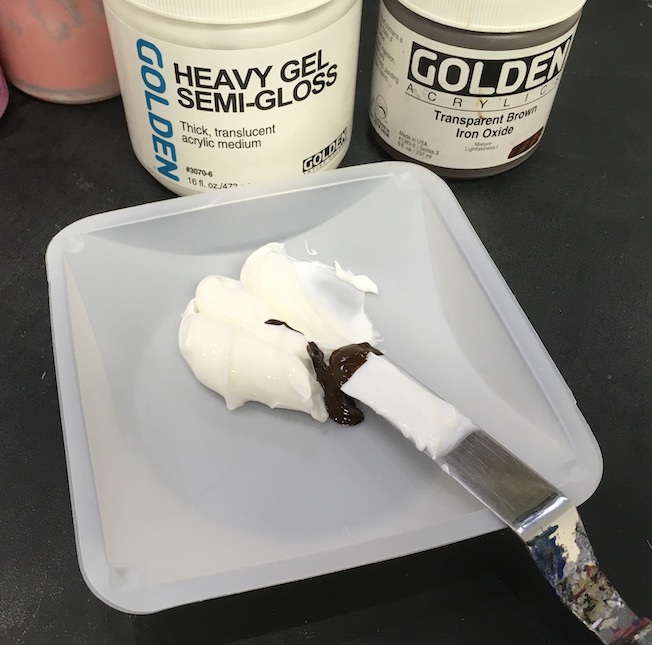
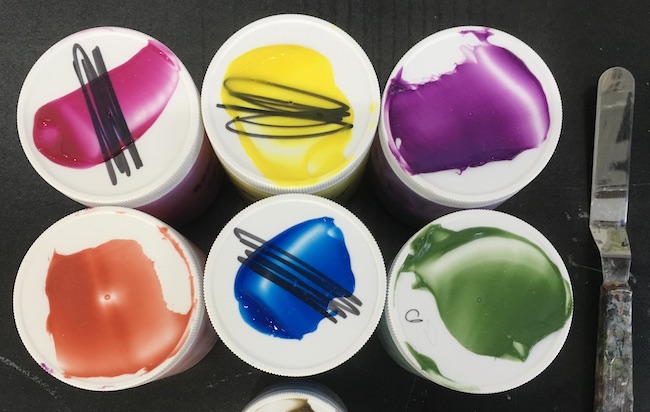
While there is a large range of possibilities, a good place to start is with an approximate 10:1 ratio of medium to paint. Add more paint to increase the color density and opacity and more medium to increase translucency. It can be helpful to make the mixtures beforehand and store in air-tight plastic containers with lids. Label with a swatch of the mixture on the lid. This is an important part of the process as any acrylic mixture that contains mostly medium of any kind will appear lighter when wet but dry darker. Just about any of our Mediums or Gels could work for this application. Gel Mediums such as Soft Gels and Regular Gels work very well as both have consistencies that are easy to apply with a blade tool, but even Heavy Gels will apply nicely. Thinner Mediums such as GAC 100, Fluid Matte Medium, Matte Medium and even our Color Pouring Mediums, can also be used for this technique. Experimentation, as always, will teach you what works best for you.
This method works best with a rigid surface under the canvas and there are multiple options for doing this: Canvas adhered to a panel using our Gel Mediums is one option. Working off the stretcher with canvas stapled to a “painting board” is another. Placing a rigid panel under a stretched canvas is yet another possibility but this may have some technical issues with getting the panel to fit precisely under the whole visible canvas area.
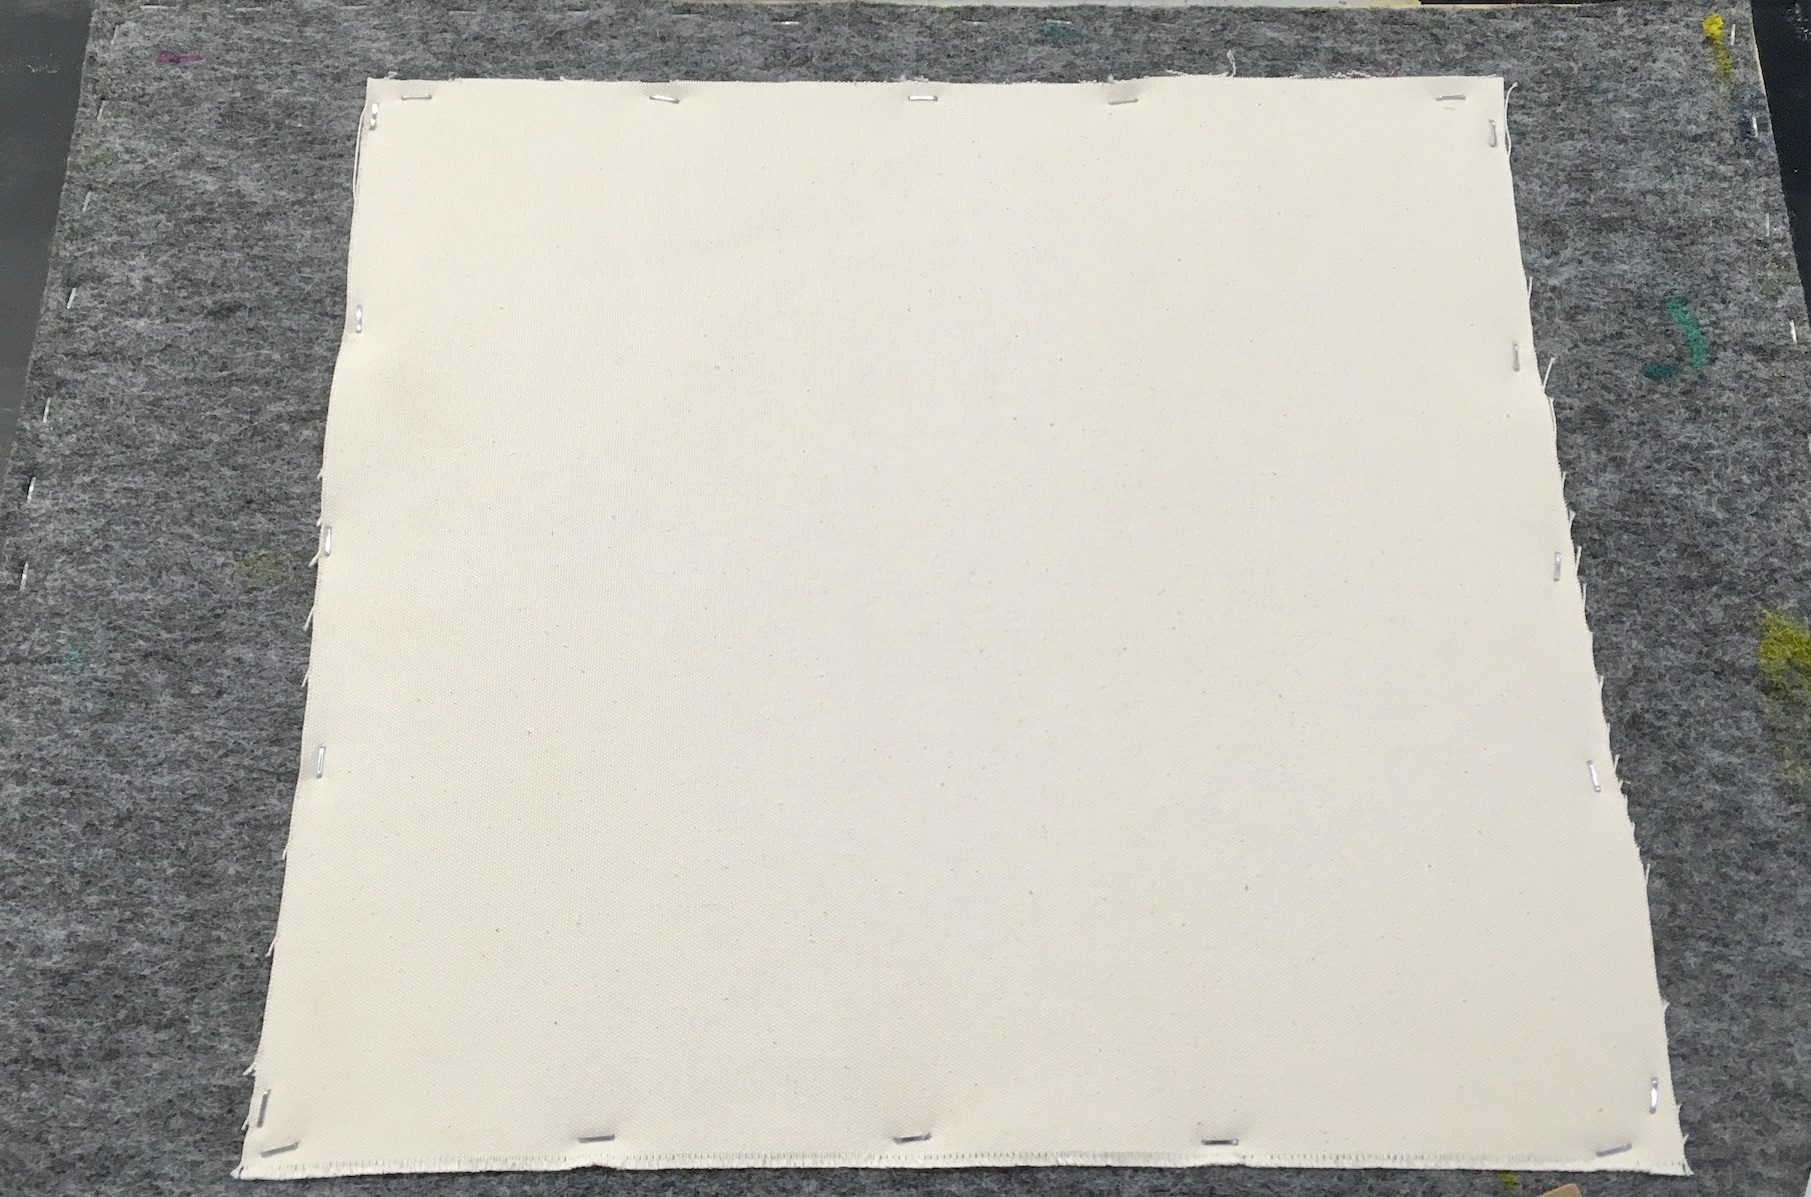
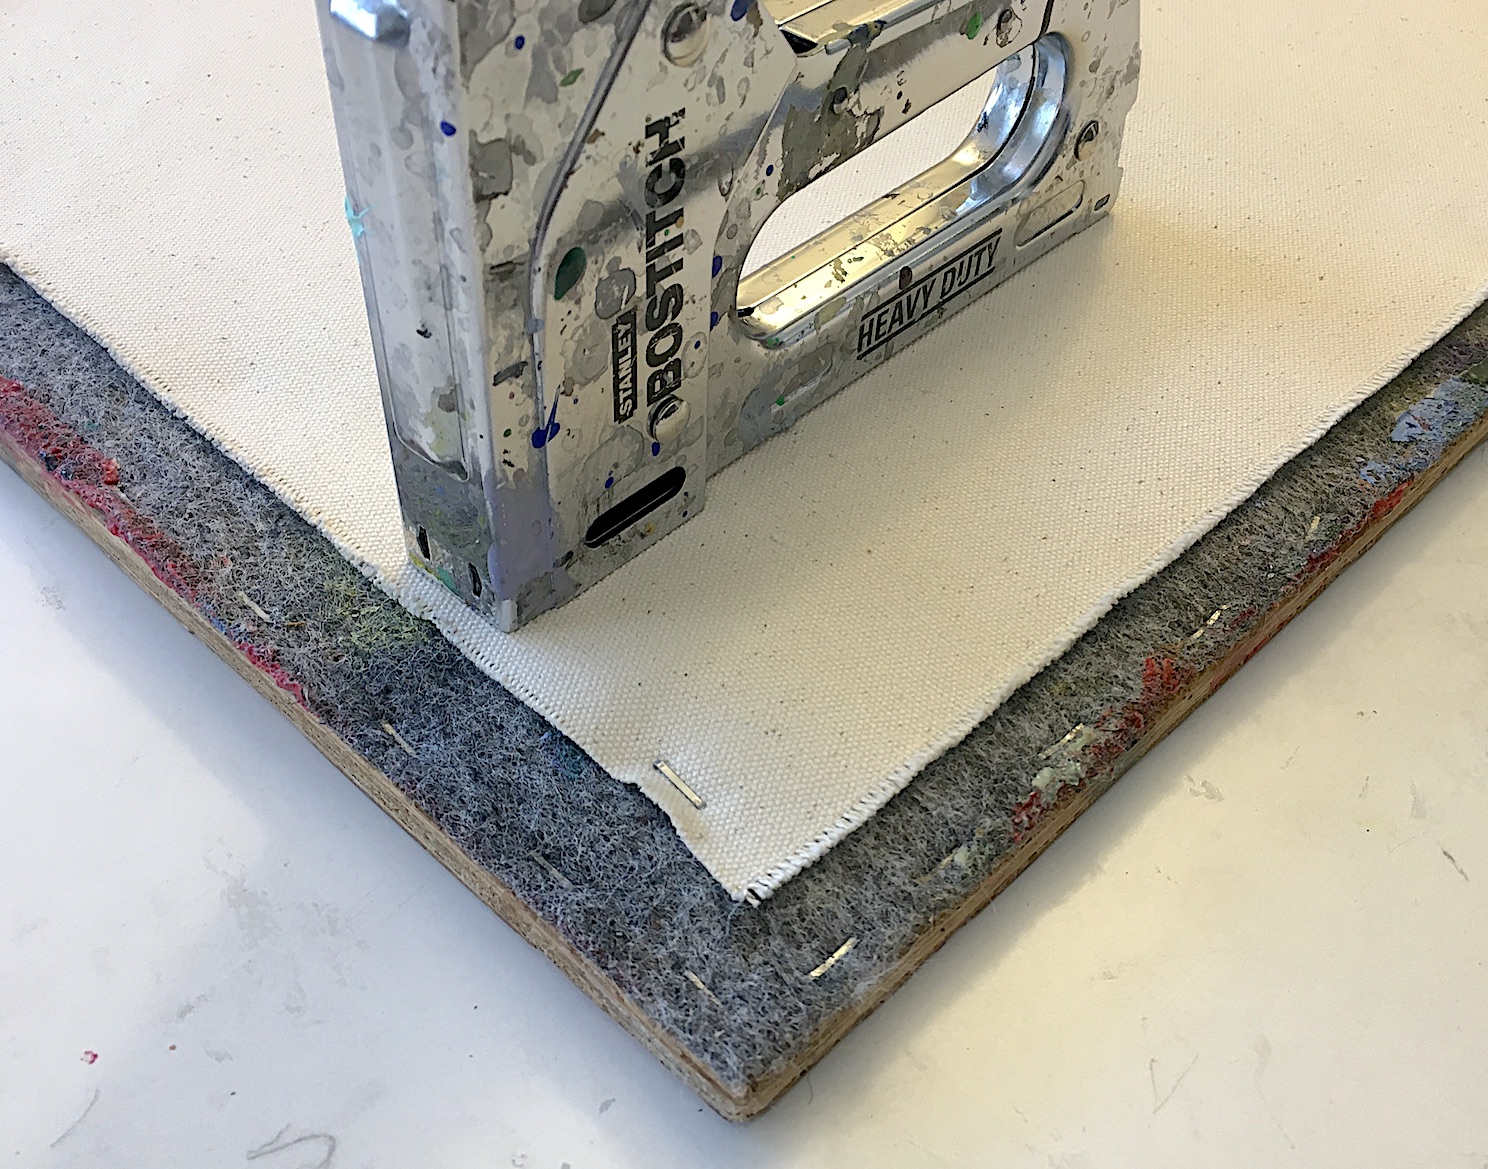
In some of the images shown here, we have stapled raw cotton duck canvas to 1/2” plywood or particle board panels that have a piece of finely textured indoor/outdoor carpet attached. The carpet offers a little bit of “give” and allows the color ground mixture to apply evenly due to the even texture of the carpet material. Make sure to use finely textured indoor outdoor carpet, and stretch as tightly as possible as you staple it to the plywood, placing staples fairly close together.
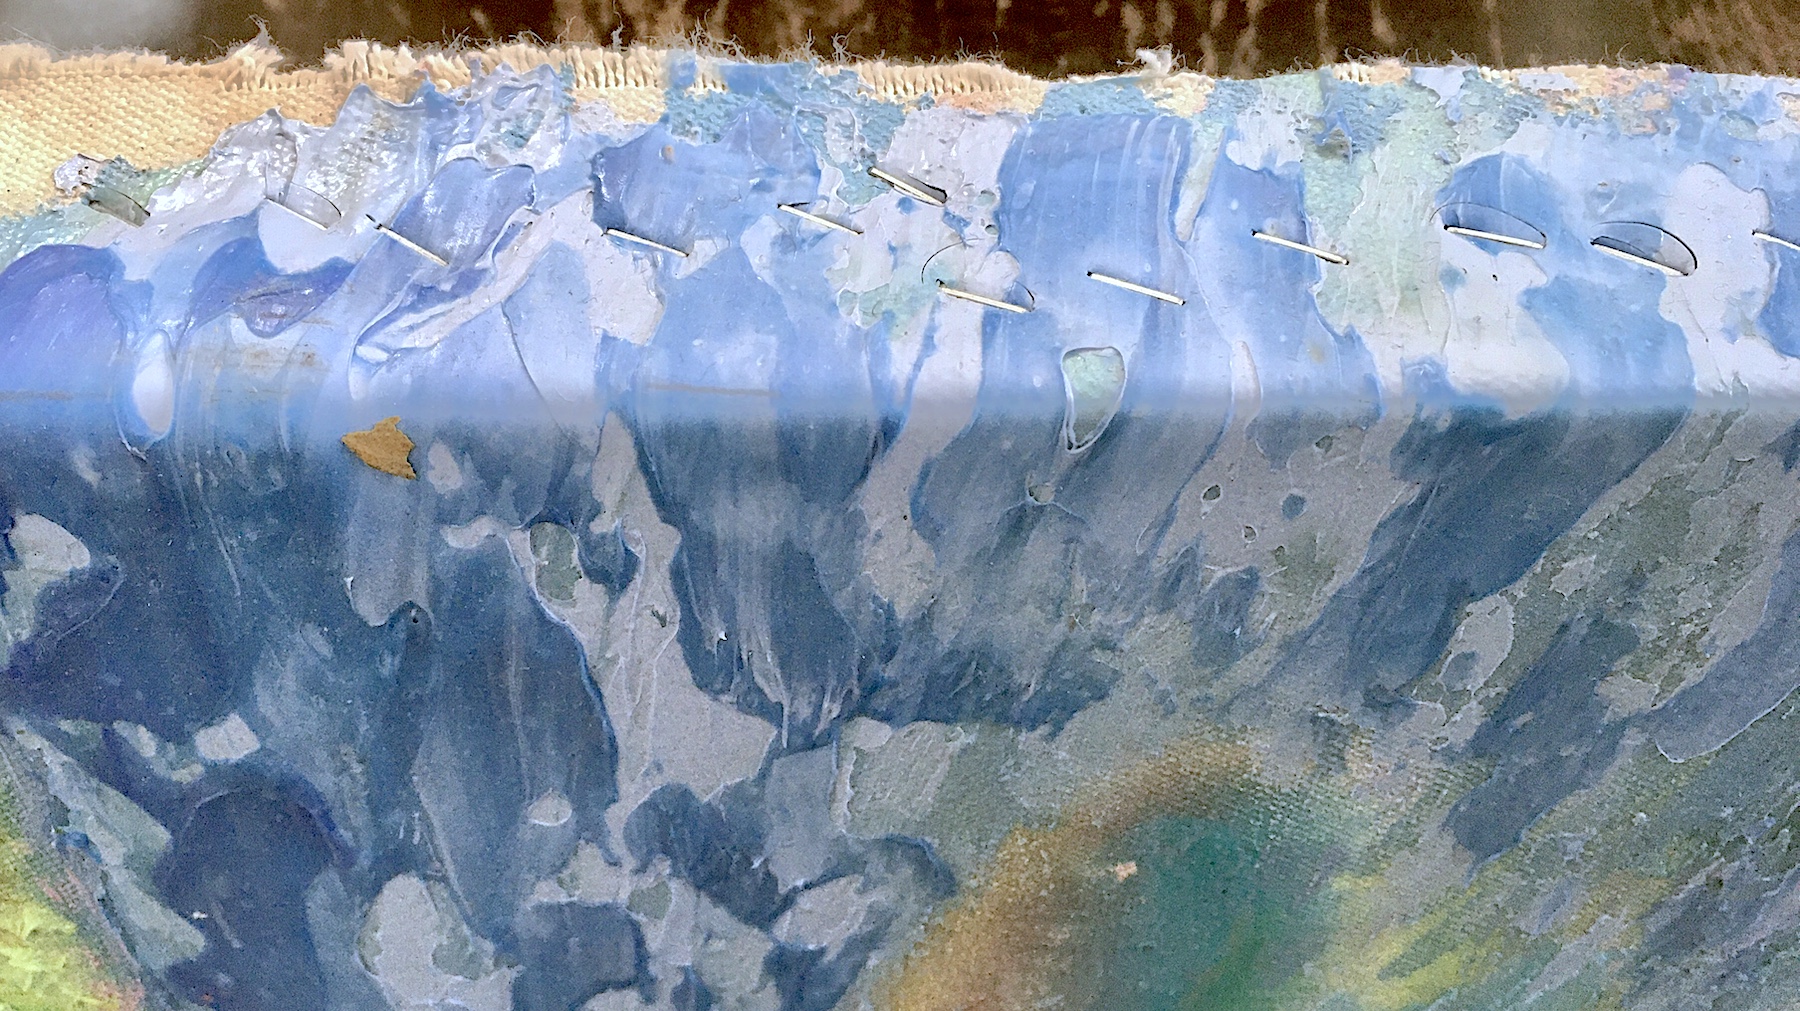
For the method using canvas stapled to a temporary board, you can leave the ground prepared canvas on this board and paint your picture. Then, when fully dry, crop and measure the painting and have a stretcher built to those dimensions. You can then remove the painting from the temporary board and stretch it up. The flexible nature of acrylic paints and mediums makes this completely possible, as long as you do it at a comfortable room temperature so the acrylic films are flexible enough. Acrylics are thermo plastic and more flexible at warmer temperatures but less flexible and potentially brittle at cold temperatures.
Variations on a Theme:
• One Layer Application:
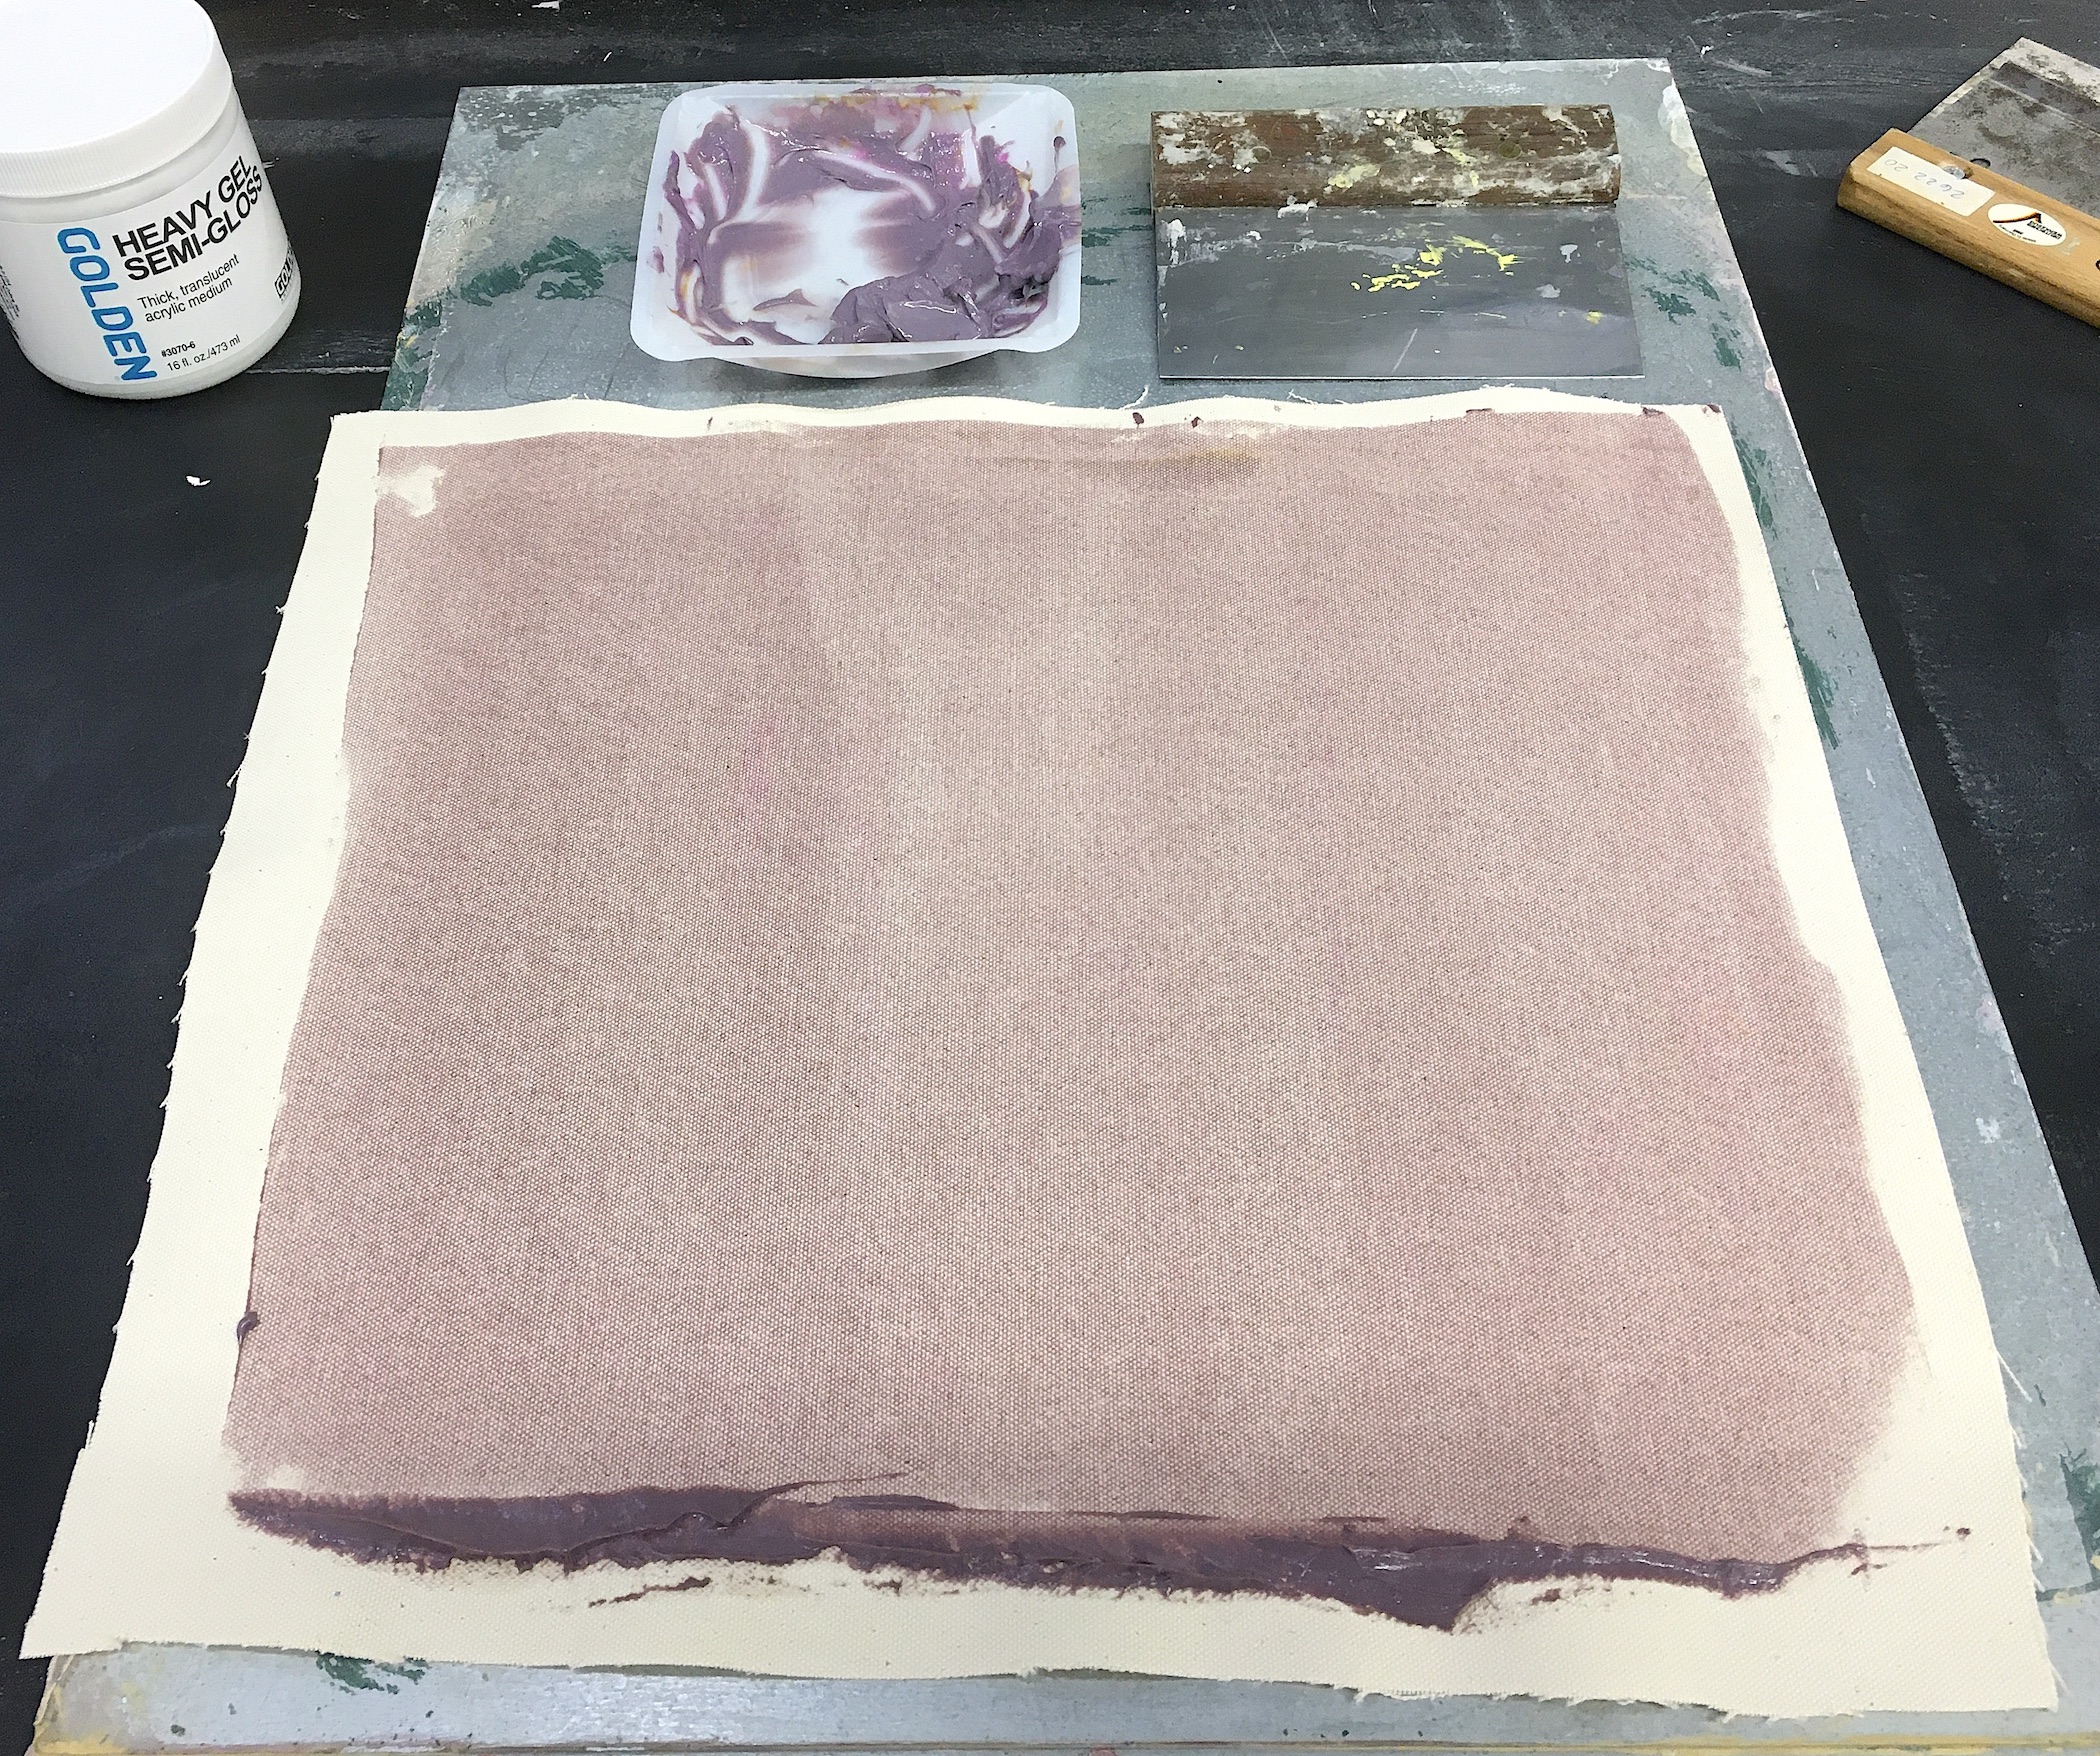
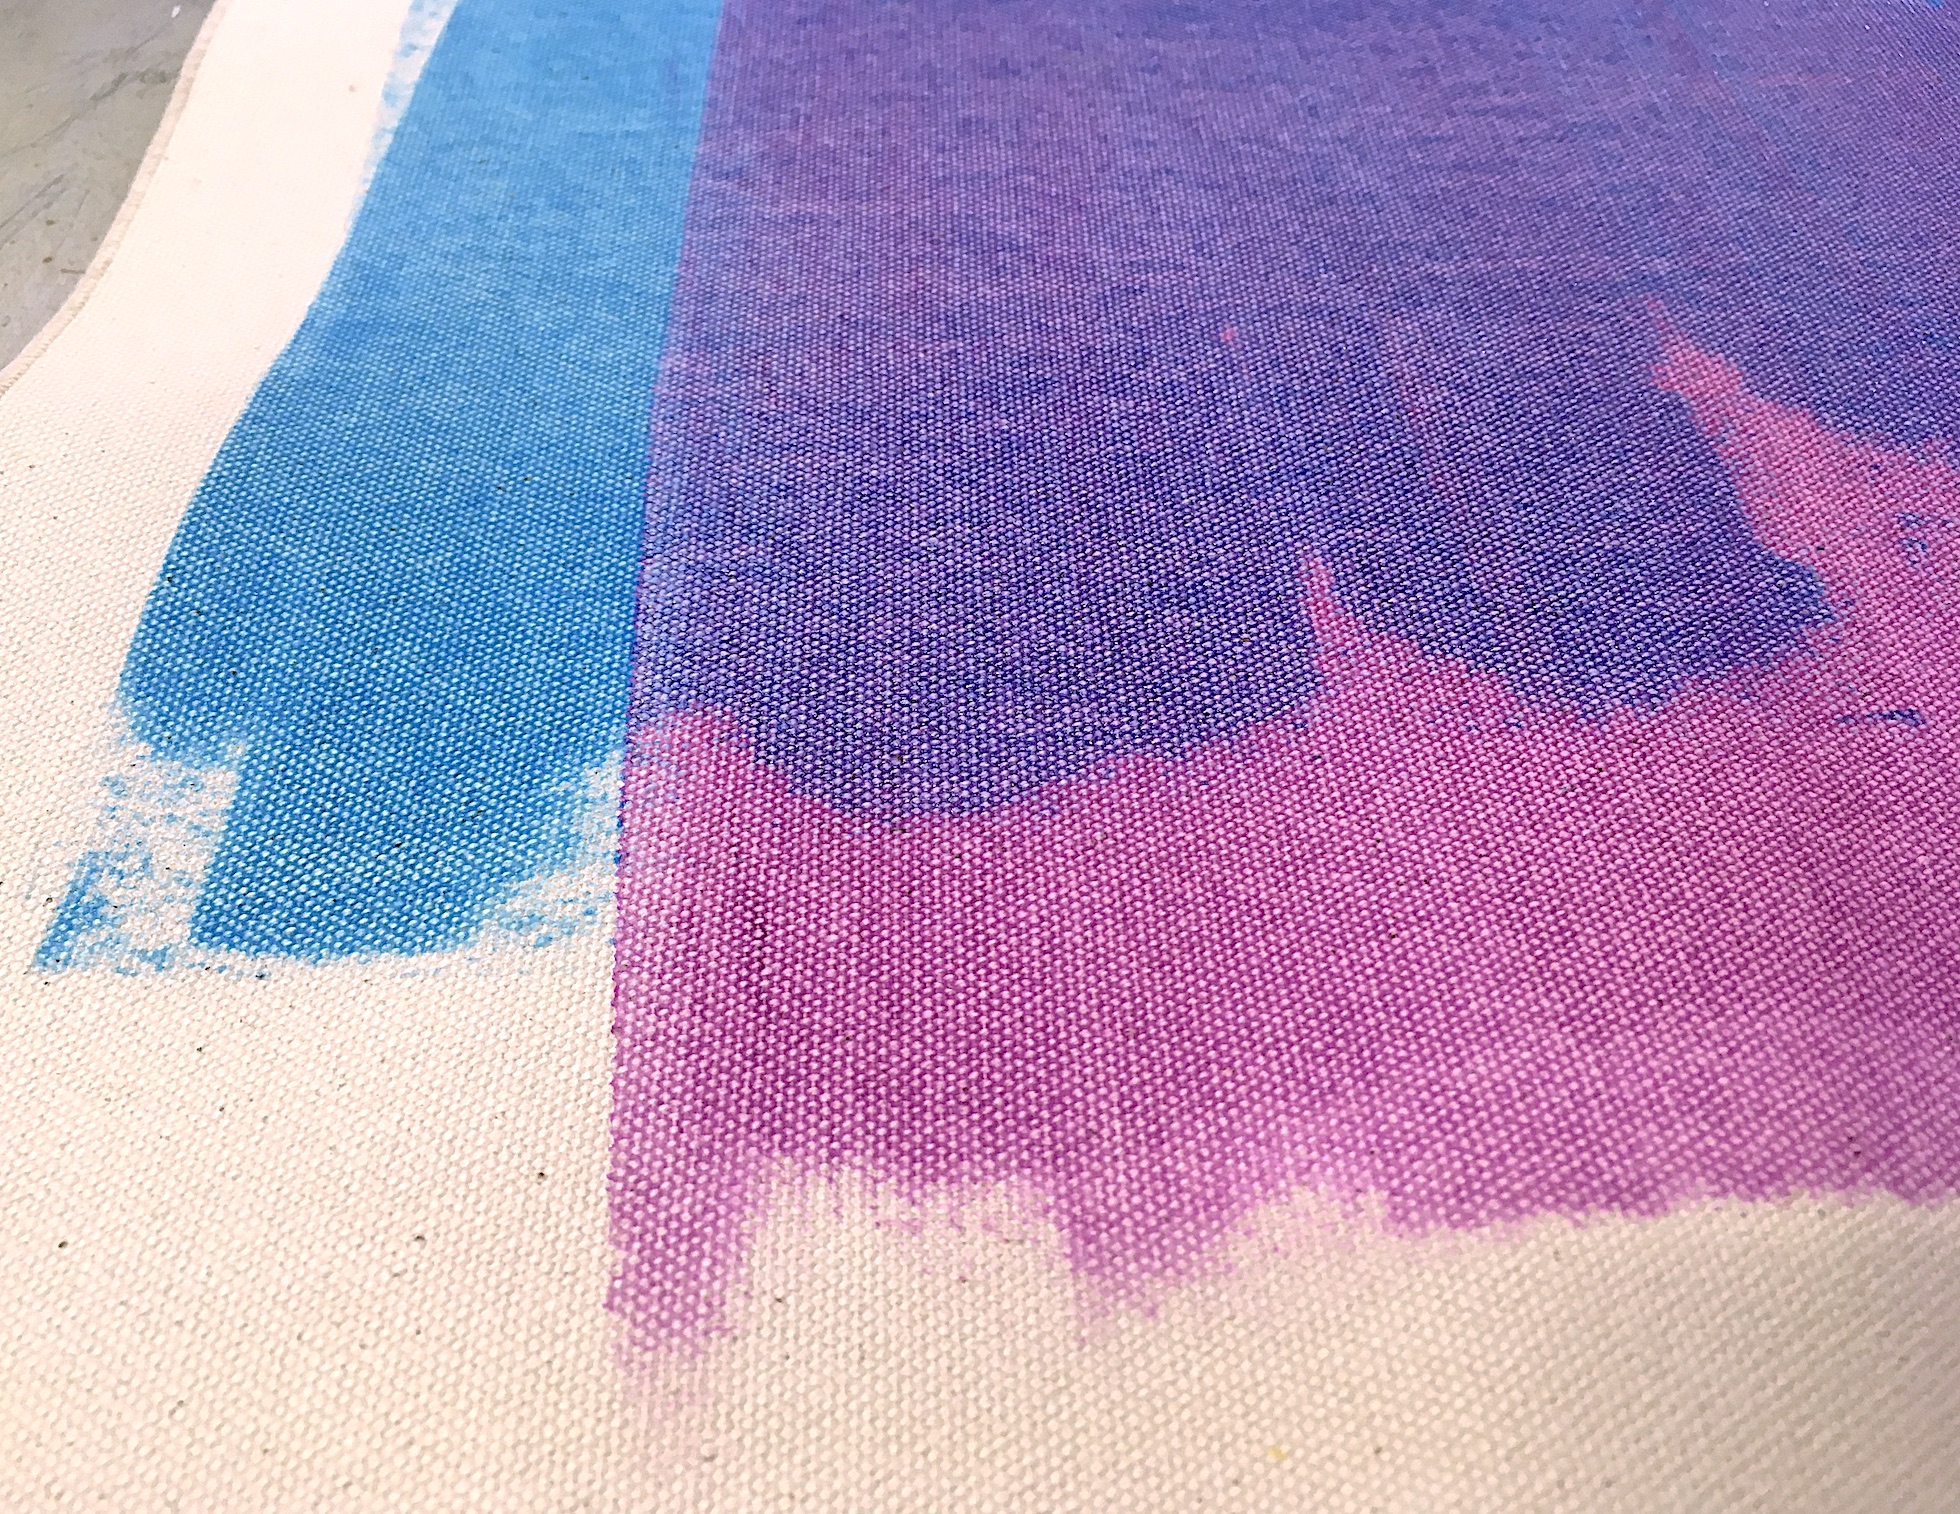
A single scraped on layer of a glaze mixture to create a thin color field that will retain the canvas texture and visually show the canvas through the translucent color. Brown colored glazes applied this way can make cotton duck look a bit like linen. Or just go for the wonderful clean and bright undertones of the organic pigments like Phthalo Greens, Blues, Quinacridones and others.
• Multiple Layer Application:
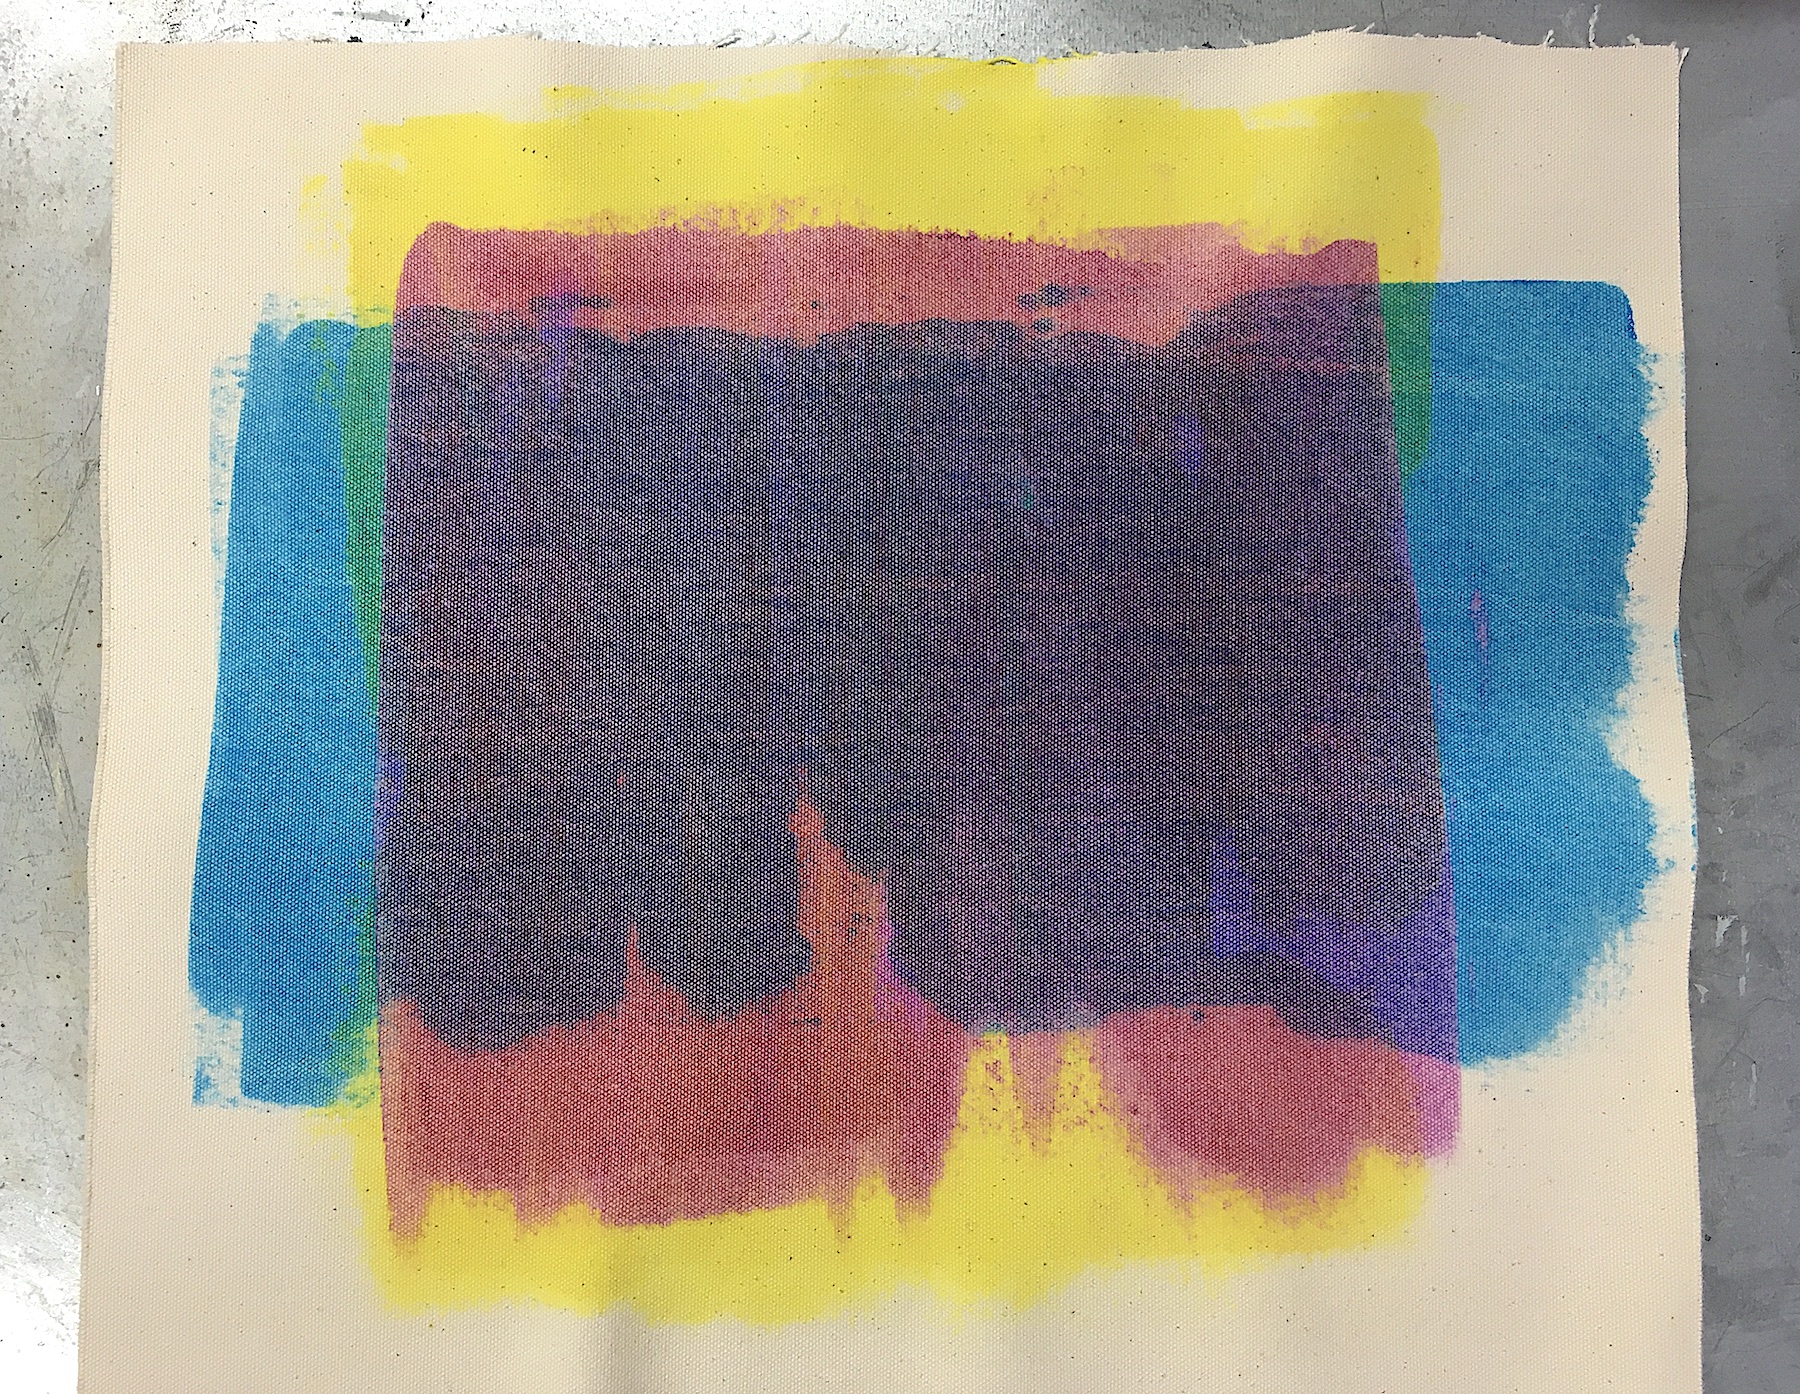
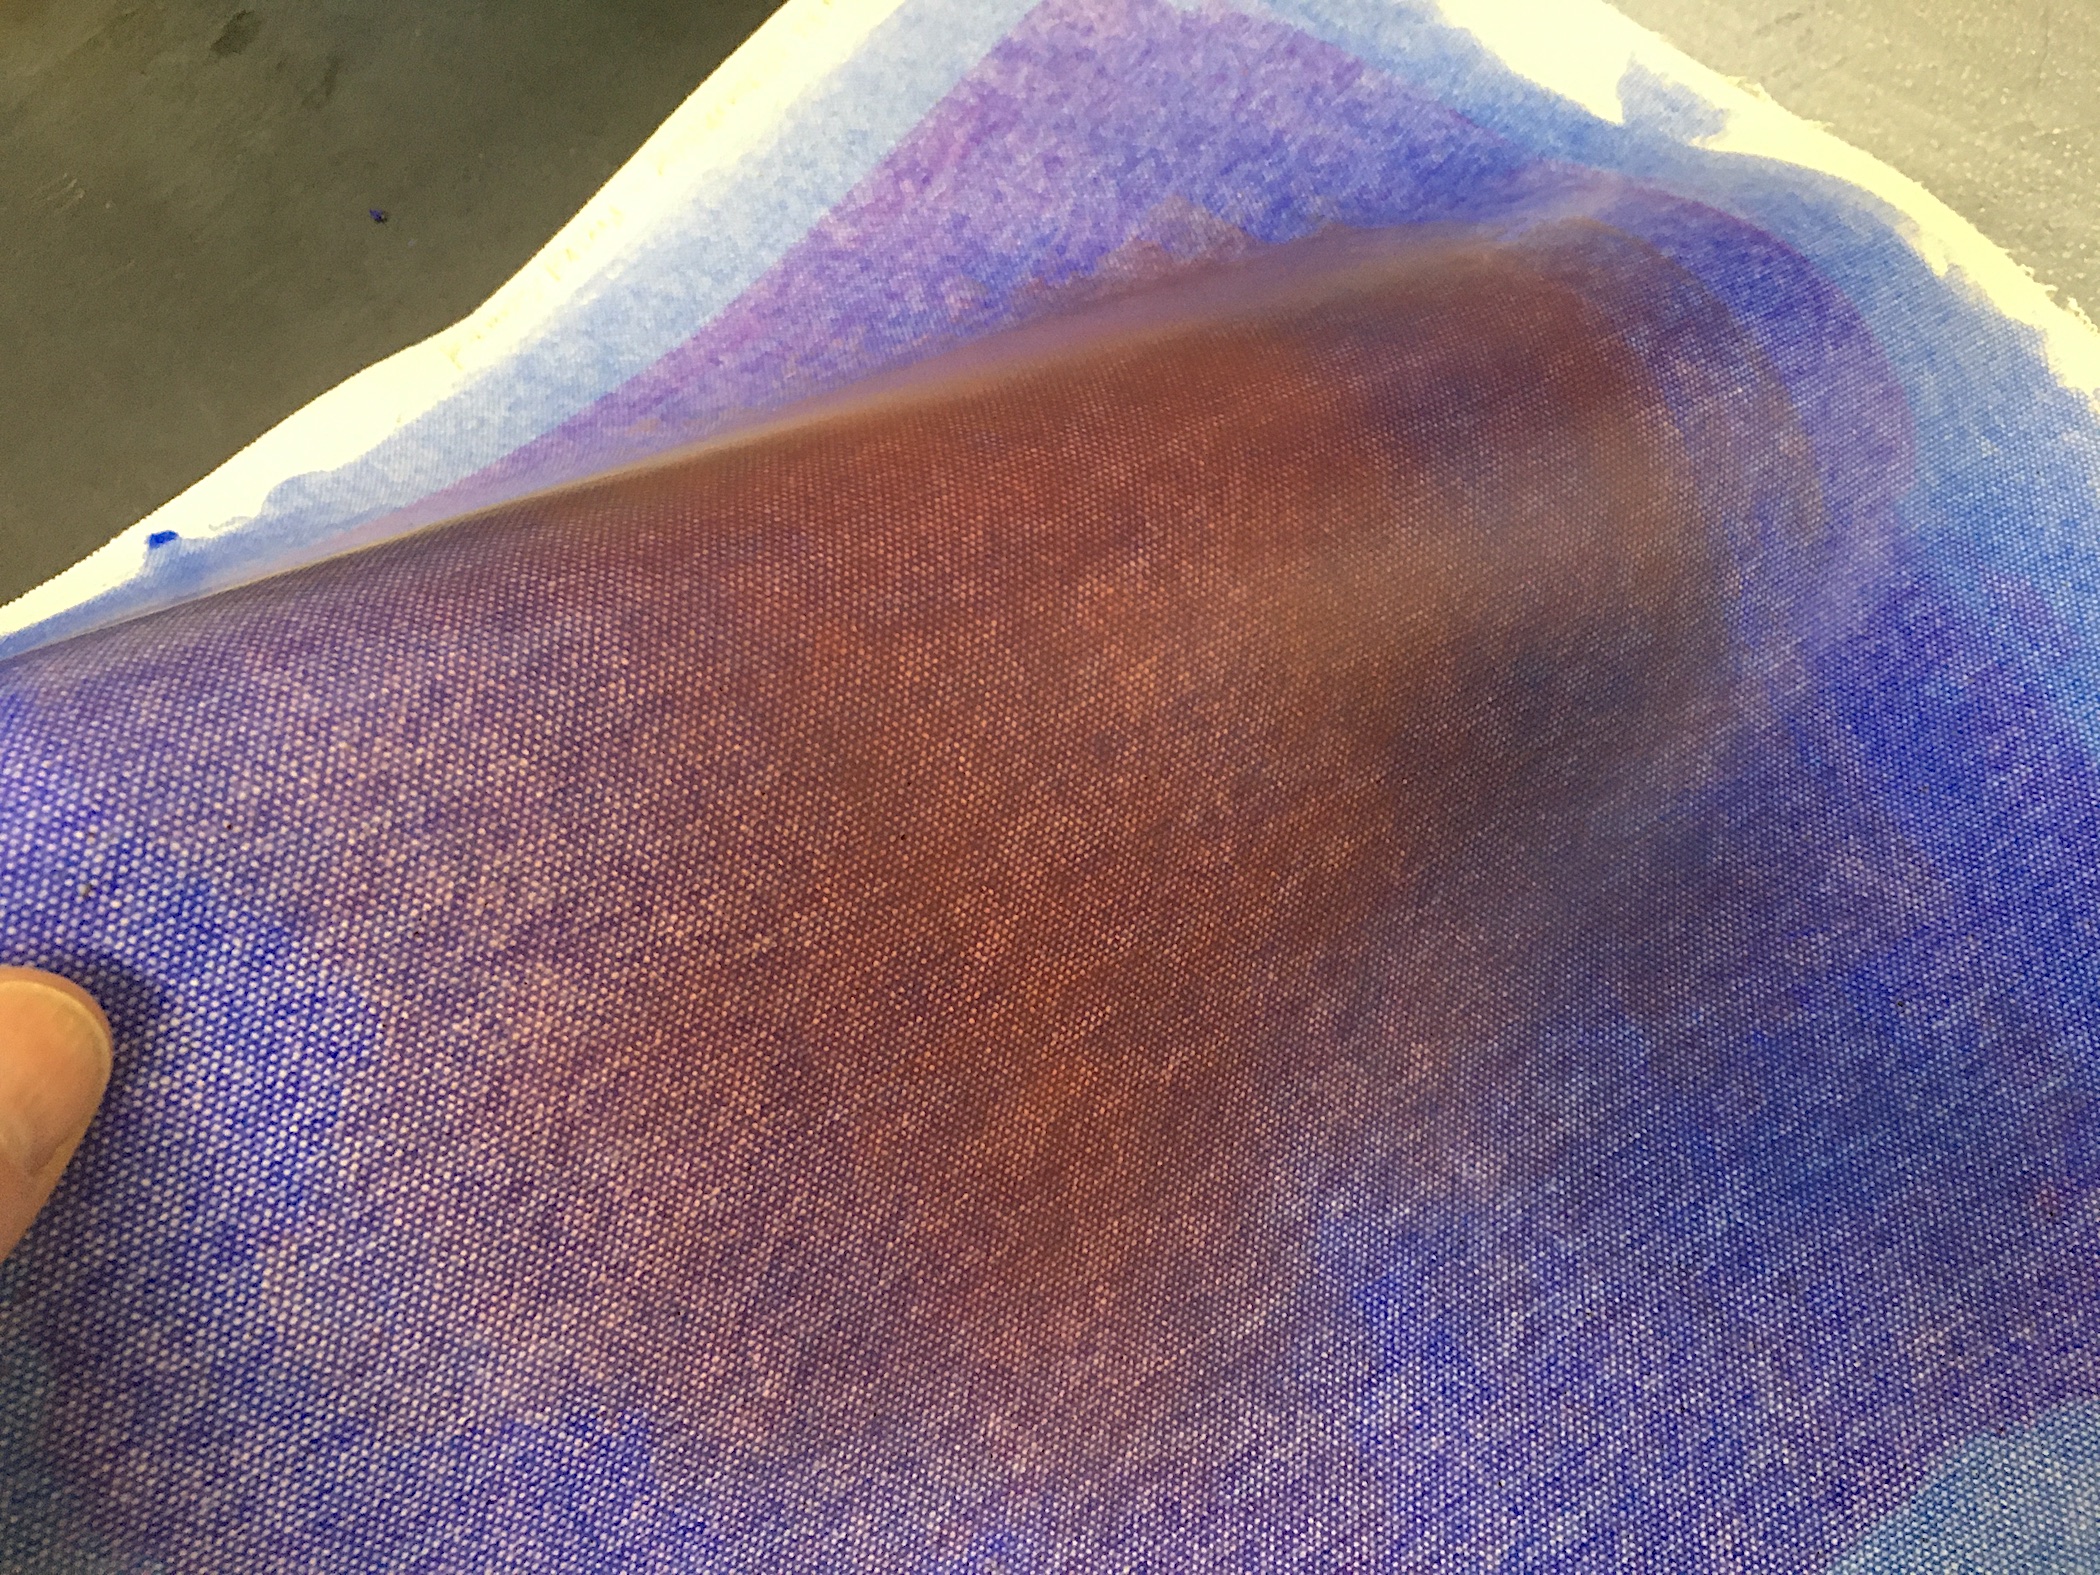
You can play with optical color mixing with multiple layers of different colors and also begin building up a surface that can fill in the canvas weave to make a smoother painting surface. Try Gloss, Semi-Gloss and Matte Gels for this to see the differences in surface and how paint will handle differently.
- Adding Titanium White for More Opacity and Tinted Color: